
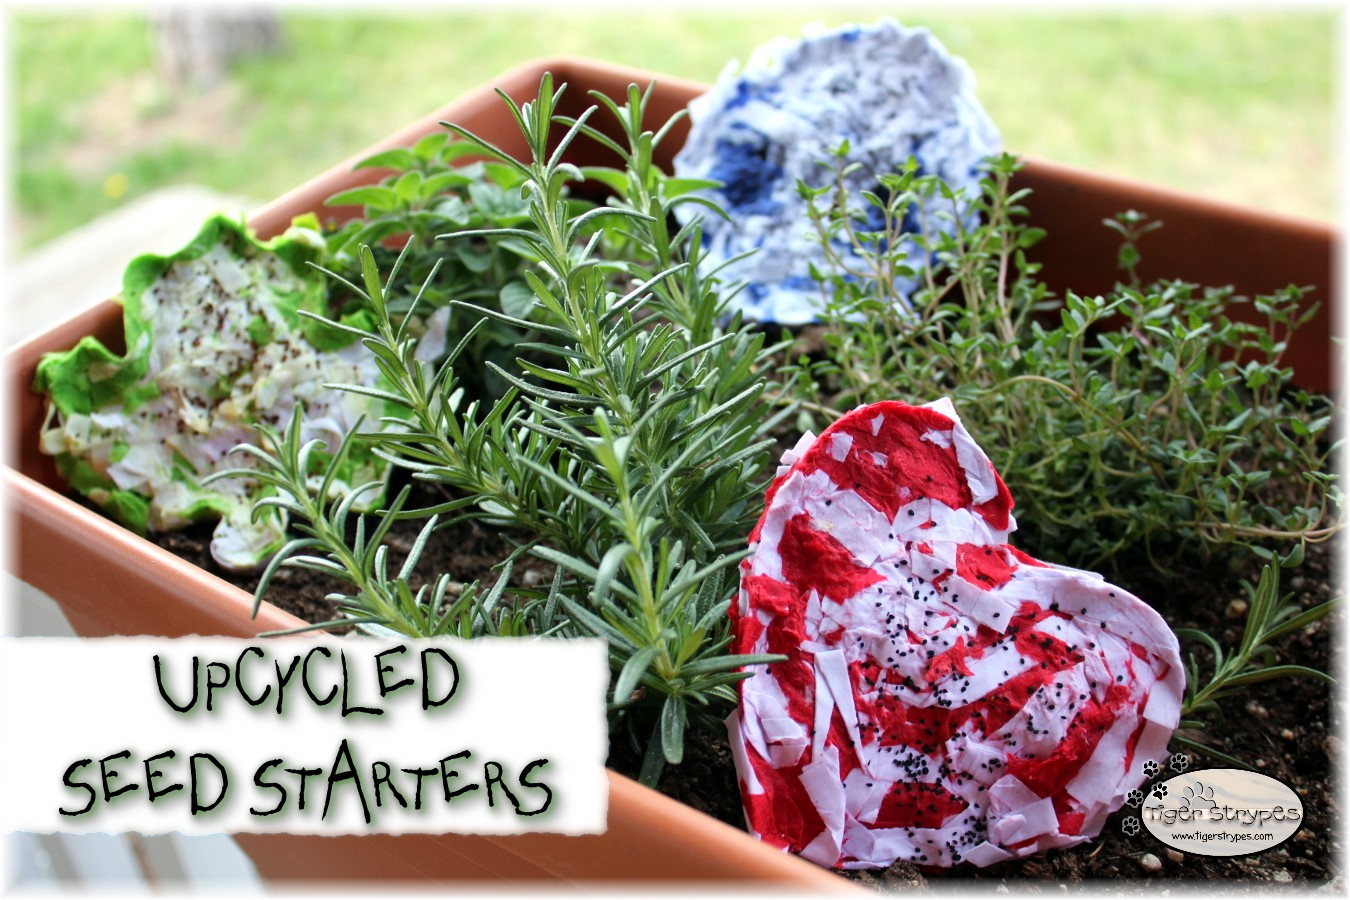
How To Make an Upcycled Seed Starter
#DIY #Garden
I saw this seed starter project on Made Everyday awhile back, and thought it would be great to make, now that Spring is finally here in the White Mountains. The oak trees just sprouted leaves, so that tells us that it’s time to start gardening. Using these will make it fun to plant flowers and help them to grow in our dry soil. They would be great gift ideas for friends during this time of year, or a great addition to a housewarming package for new neighbors.
I just used our document shredder to shred some old paper from our recycling bin. You could use whatever you wanted (tissue paper, regular paper, recyclables, etc.) for that part of the project. I sure hope that you like it! Have a blessed day, and please be sure to comment on, and share this craft on your social media channels – thanks!
Look at this beautiful upcycled seed starter for your home or garden! #DIY #Garden Click To Tweet

How To Make an Upcycled Seed Starter
Materials/Tools Used:
- Old Paper
- Water
- Jars or Bowls
- Cookie Cutters or Other Shapes
- Seeds (Flower, Vegetable, Etc.)
- Pots or Garden
- & Time!
Instructions:
I started by using my paper shredder to shred some different colored pieces of old paper. You could even just cut the pieces up with scissors into small pieces, if you have no shredder.

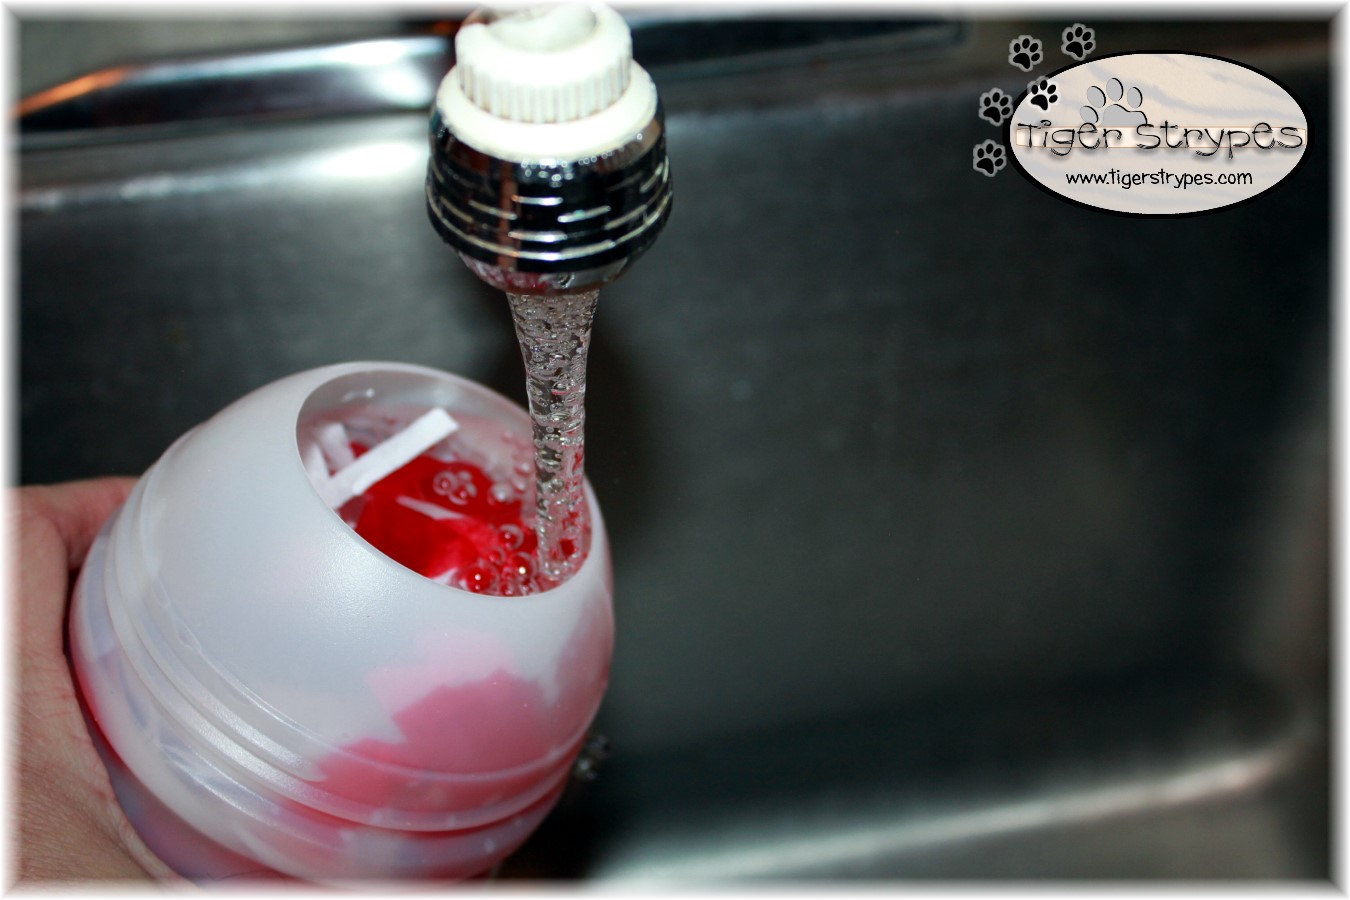
Next, I stuffed the paper into a recycled plastic container. Be sure to fill it with a lot, as you’ll need more than you think, once it starts to break down in the water.

After I had the container pretty full, I added some water to the container. This needs to fill it completely, and cover everything inside to do it’s work.
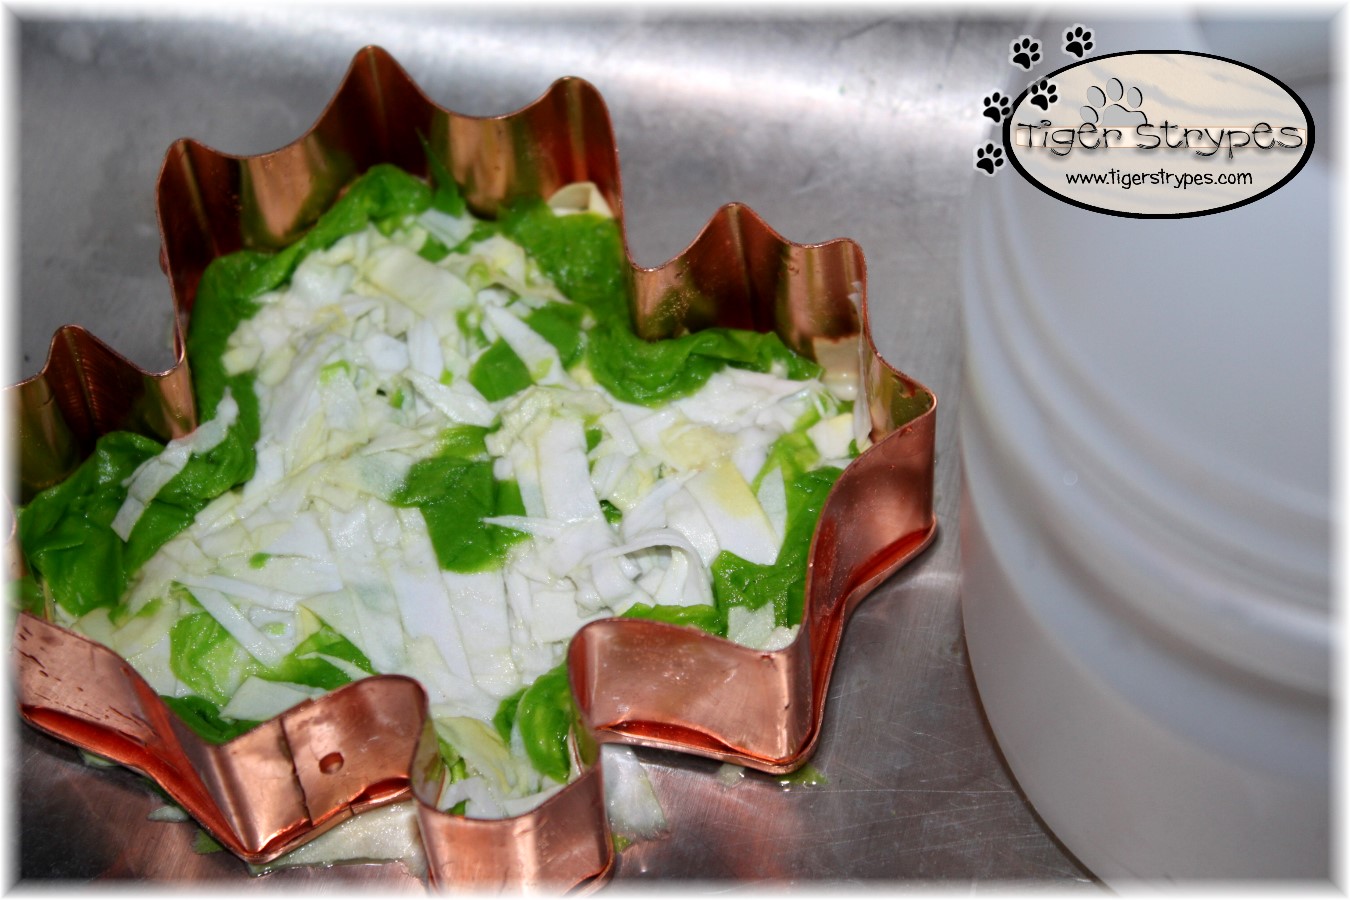
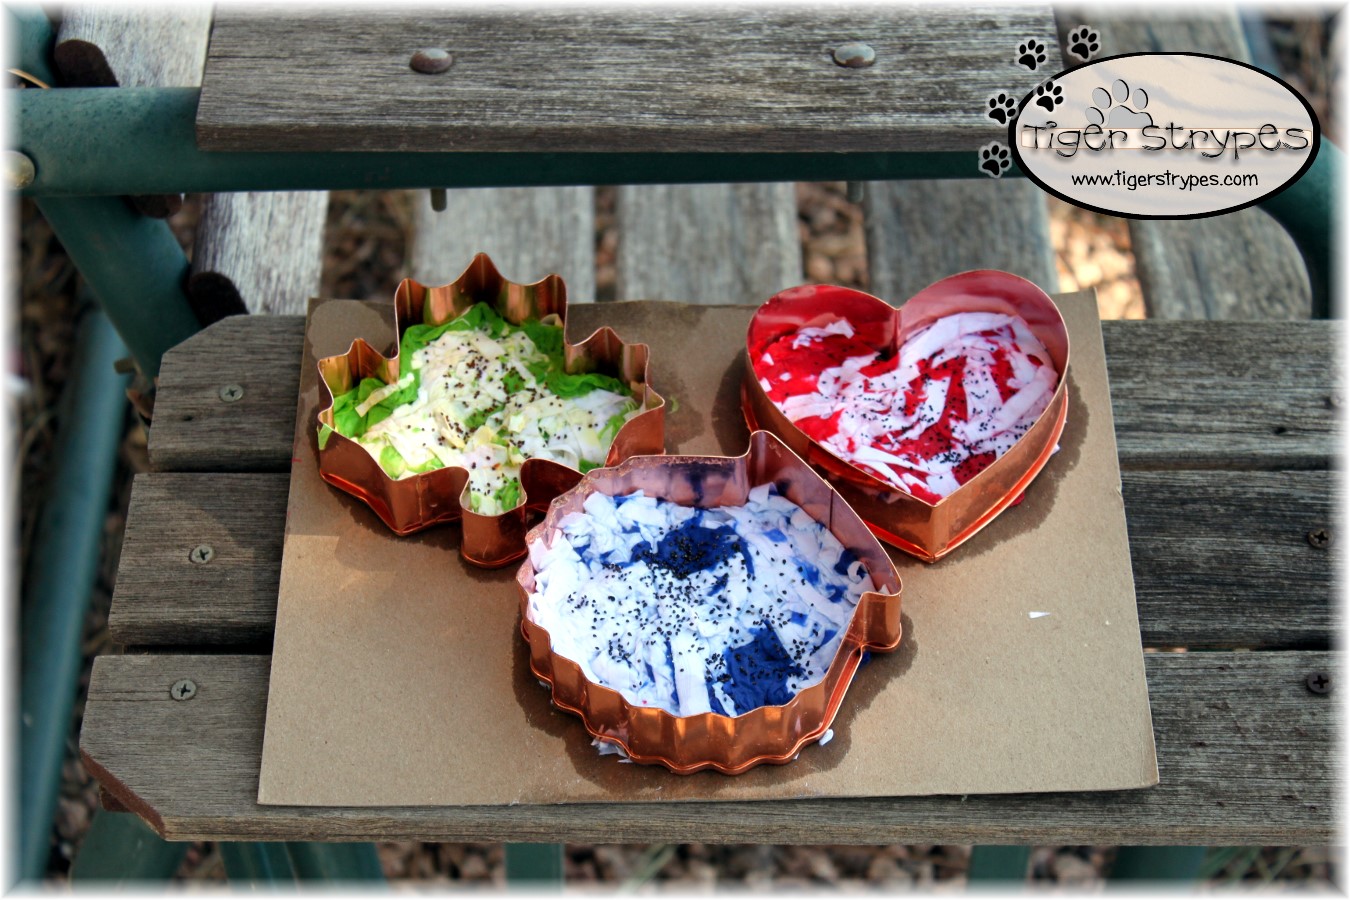
After about 24 hours, I drained the water and stuffed the pieces of paper inside of a cookie cutter in the sink. Make sure to squeeze out as much of the water as you can, so that it will not take as long to dry. I left it in the sink for about 24 hours to get rid of some of the water.
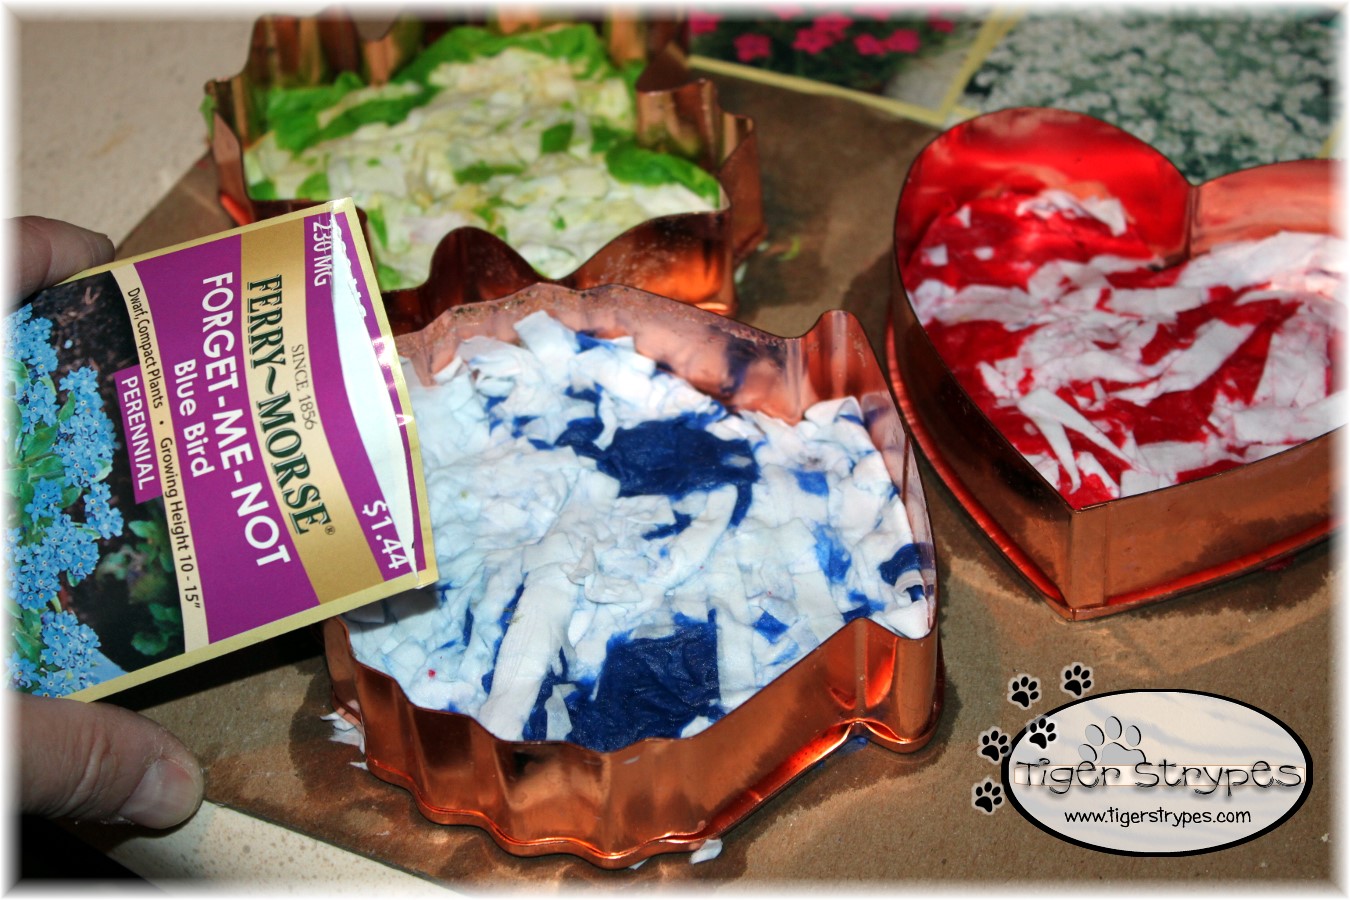
Now while it was still a bit moist, I put the cookie cutters on a piece of old cardboard to be able to carry them around easier. I added the seeds to each piece of the starters, making sure to push them in a bit, so that they would be secured and not fall off easily.
When I had the seeds in each one, I put the piece of cardboard outside to continue drying. If you want to make it go quicker, you could always use a hair dryer, or warming fan, but I figured that I could wait.
Now, you can just plant them wherever you wish for the seeds to grow. I took a picture in one of the pots I have on the porch, but actually buried them in the backyard garden to begin sprouting. Figured a picture of the dirt wouldn’t really show you how they came out. 🙂
I hope you like it! Please take a minute to leave me a comment, and let me know what you would do different, or what you would add, etc. Be sure to tweet, pin, share, etc. – thank you!!
“For as the soil makes the sprout come up and a garden causes seeds to grow, so the Sovereign Lord will make righteousness and praise spring up before all nations.” –Isaiah 61:11
![]()
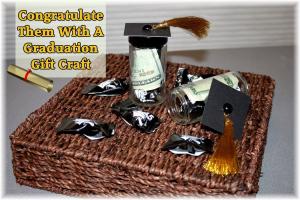
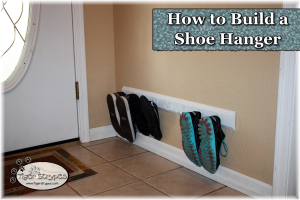
HERE ARE SOME OF MY PREVIOUS PROJECTS:
 |
 |
 |
 |
 |
 |
PLEASE SHARE THIS POST USING THE OPTIONS BELOW…THANKS!!
*****************************************************************************************************
[…] Upcycled Seed Starters from Jamie […]
[…] Upcycled Seed Starters from Jamie […]
This seems so cool! I will have to try it!
My kids have recently become interested in planting seeds outside in our yard. This would be a great project to try with them! I’m not very good at gardening, but I think I could manage this seed starter. 🙂
[…] Upcycled Seed Starters from Jamie […]
Nice! I like anything that uses recycled objects in the garden. This looks like a good project. Thank you for sharing it. #HomeMattersParty
They were fun to make, Jeanne – I love making things from other stuff! 🙂
So colorful and sounds like an interesting idea to plant a seed and also to recycle the papers.
Thank you, Sahana – they were really fun to make.
How darling are these little seed starters? I just love them! #HomeMattersParty
Thank you – they were really fun to make and would be perfect for families with little ones.
So awesome! I think this is something I can do with my kiddos. 🙂 What a cute idea. #HomeMattersParty
I’m sure the kids would love it – it was even fun for me to make! 🙂
[…] Upcycled Seed Starters from Jamie […]
[…] Upcycled Seed Starters from Jamie […]
[…] Upcycled Seed Starters from Jamie […]
[…] Upcycled Seed Starters from Jamie […]
[…] Upcycled Seed Starters from Jamie […]
[…] Upcycled Seed Starters from Jamie […]
This is very interesting! I have never seen anything like this before #HomeMattersParty
This is such a neat idea! I like the heart shaped one a good bit! I like how colorful everything is too.
Thank you Crystal – they were fun to make and I can’t wait to see my flowers grow from them! 🙂