
![]()
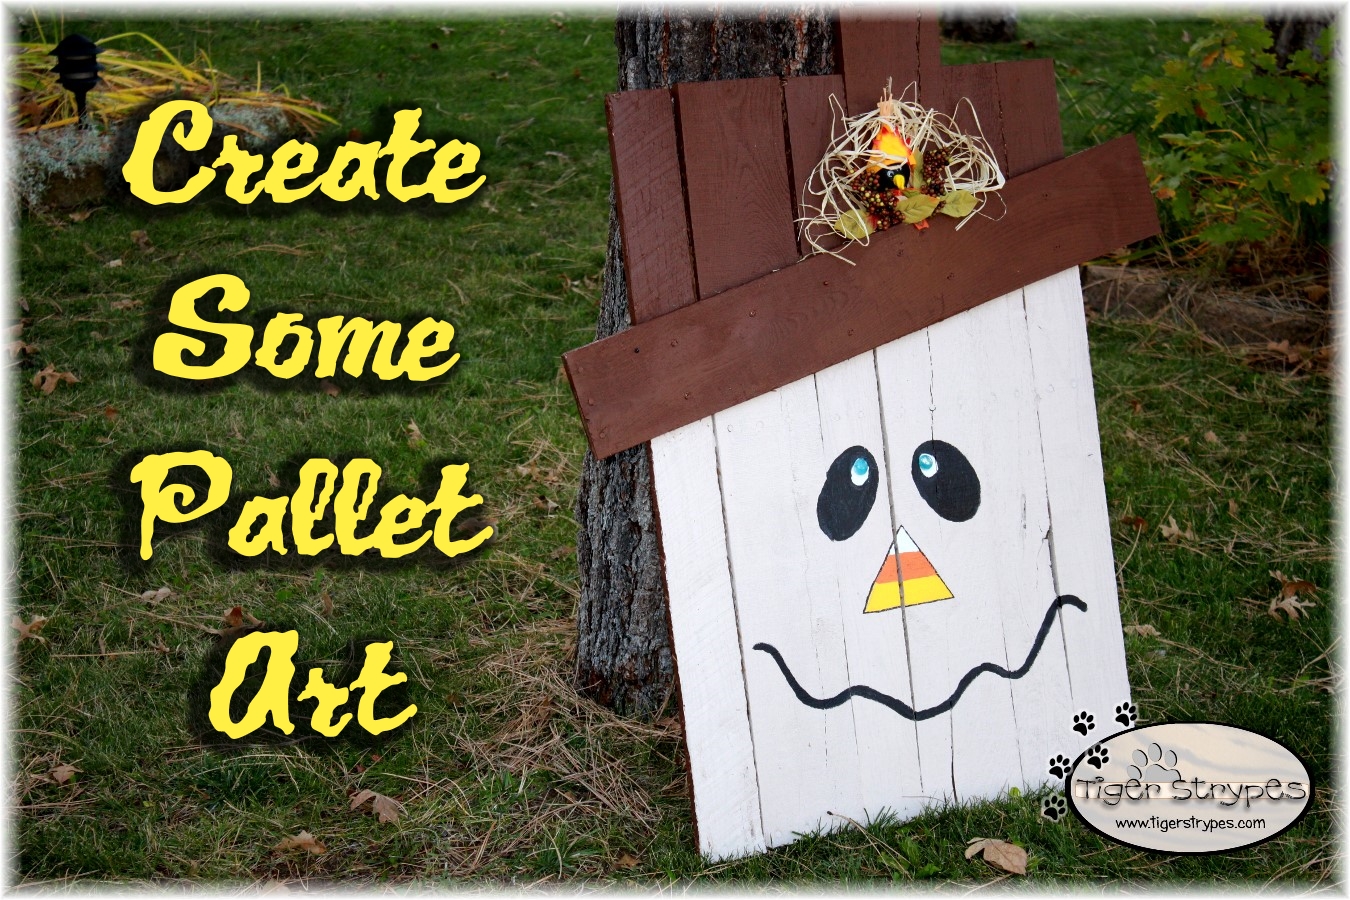
Create Some Pallet Art for Harvest Season
![]()
I’ve been seeing a lot of these pieces of art using pallets lately, and thought this would be fun to try. We were driving by a local store, and I saw a pallet leaning on their outside wall. Headed inside to see if they needed to get rid of it. They said yes, so I put it in the car!! Yippee – so many people online say that they can get them for free, but the only places I know of usually up by our home sell them for about $10.00 each. No thanks!! This work of art only cost me about $4.00, with having to buy only some of the things I added on.
My husband helped me out in the garage, with cutting the pallet apart and screwing it all back together. I could usually do all of that myself, but with a sore back lately, couldn’t really plan on the leaning over. Thanks honey!! I really love how it turned out. It’s fun to pull into our driveway and see his smiling face. With Thanksgiving coming, and the amazing season of Fall all around us here in the mountains, I figured it would match perfectly.
I hope you like it!! Have a blessed day, and please be sure to comment on, and share this craft on your social media channels – thanks!!
 Create Some Pallet Art for Harvest Season
Materials/Tools Used:
- Wooden Pallet
- Saw
- Screws/Screwdriver
- Paint
- Decor
- & Time!
Instructions:
I started out by finding this pallet at one of the local stores here on the mountain. They wanted to get rid of it, I needed one – yippee, FREE!! Thanks Butterfly Boutique!!

My husband got the saw out, and just cut the pallet pieces apart. If you try and remove the nails just as it sits above, you take the chance of cracking the pieces of wood, and not having a lot left to use. Just be sure to wear some safety equipment, and be careful.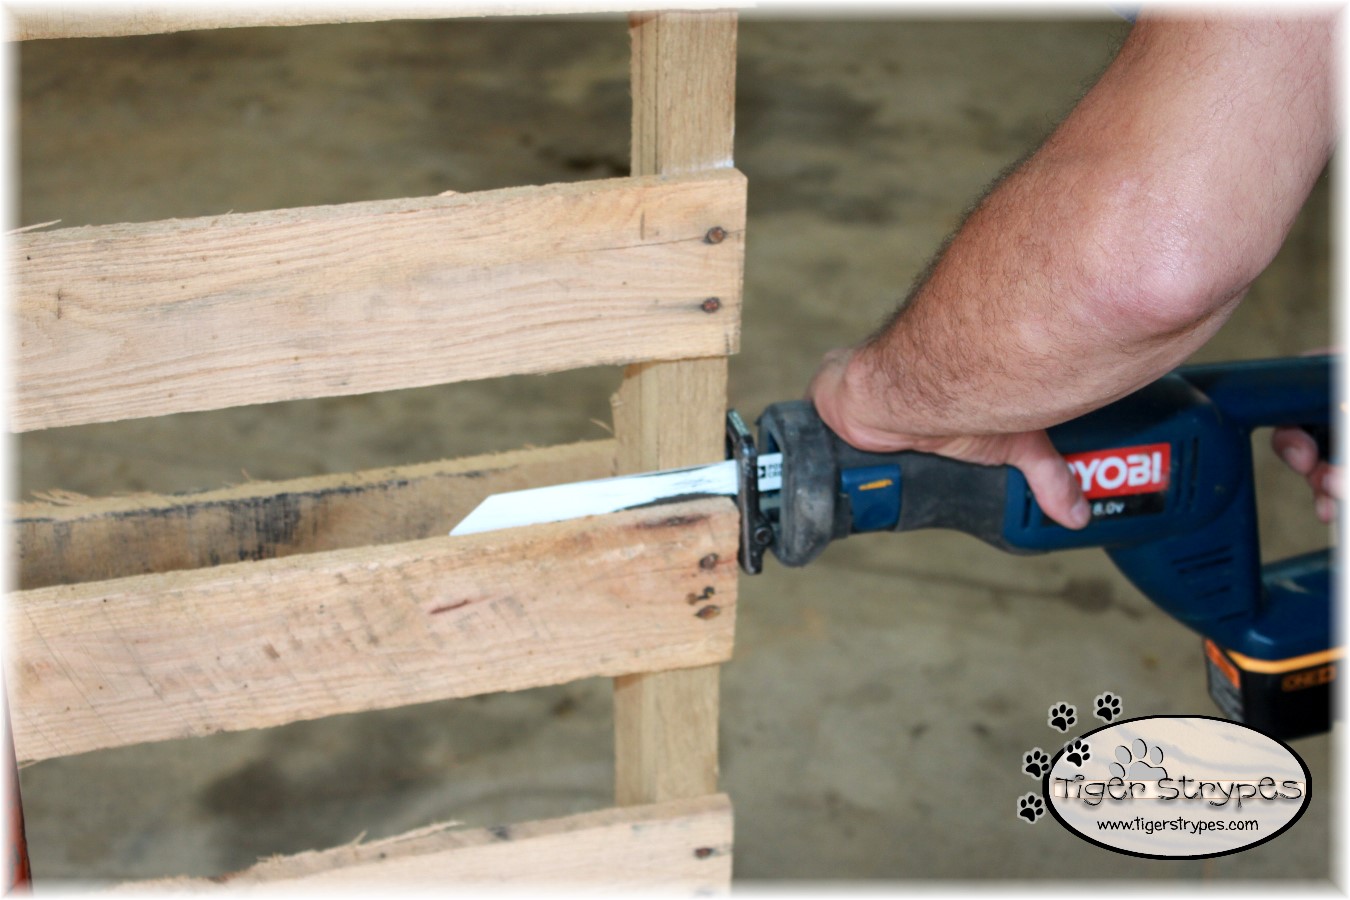
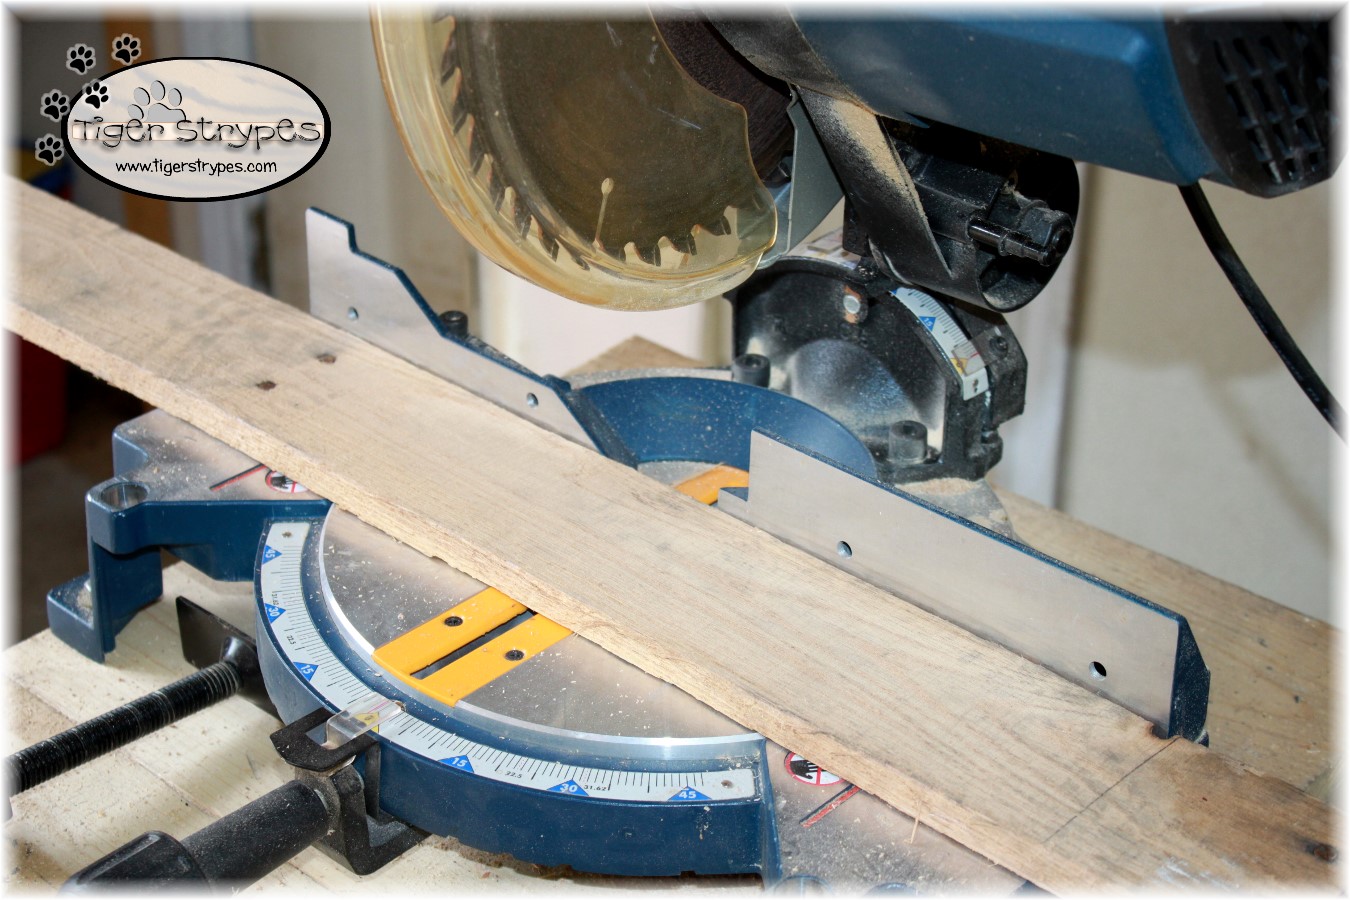
I then cut one of the small parts of the pallet wood into (2) equal size pieces. These will be to screw onto the back of the pallet pieces, to hold it all together.
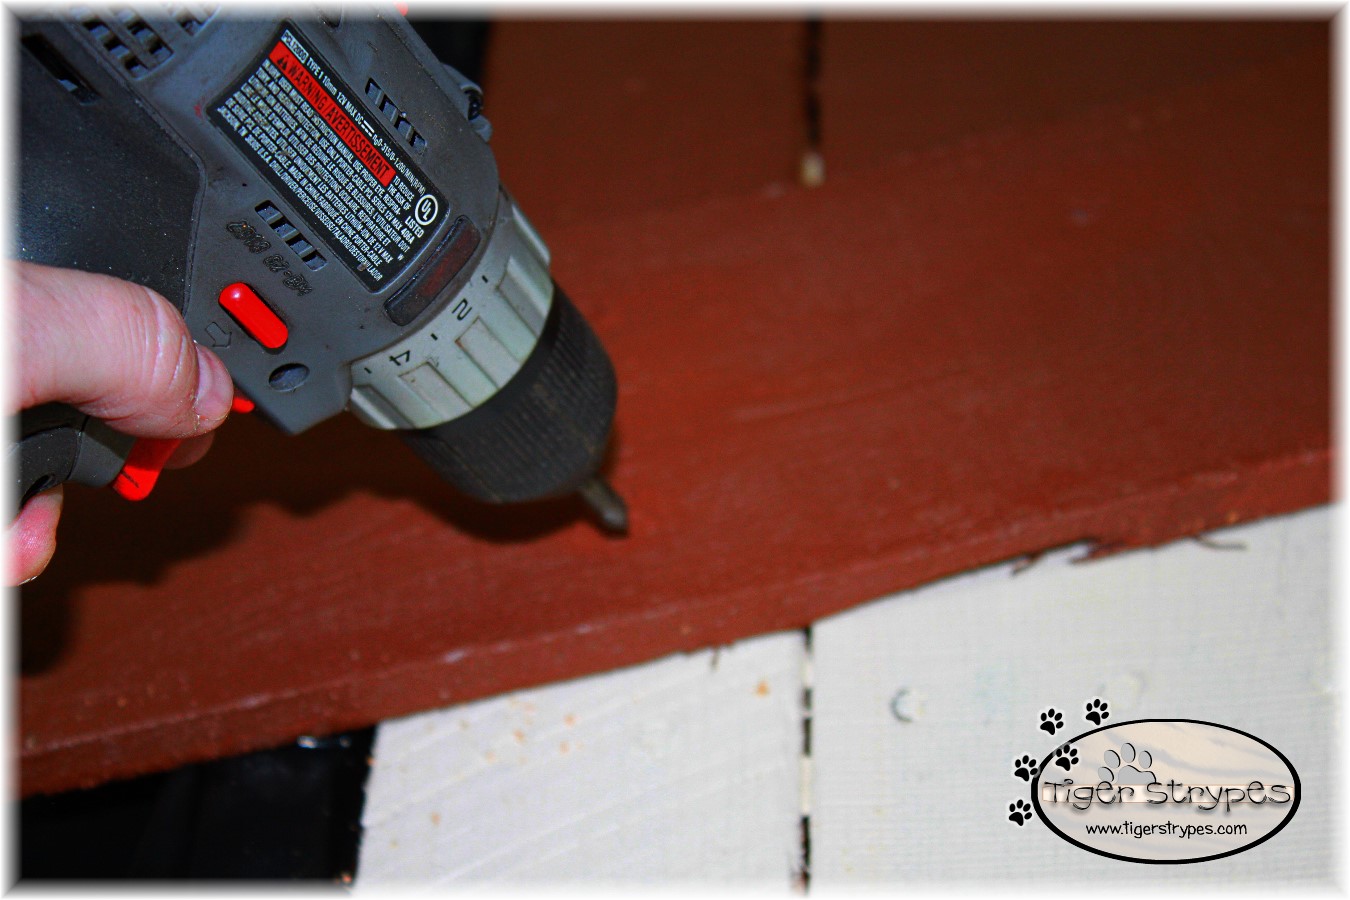
After that, David ran some holes into the back of the wood, so that it wouldn’t split when we added the screws. Add one piece to the top, and then another at the bottom to hold the boards together in the shape that you wish. You can cut them in any length, and put the smaller boards between the wider ones, etc.

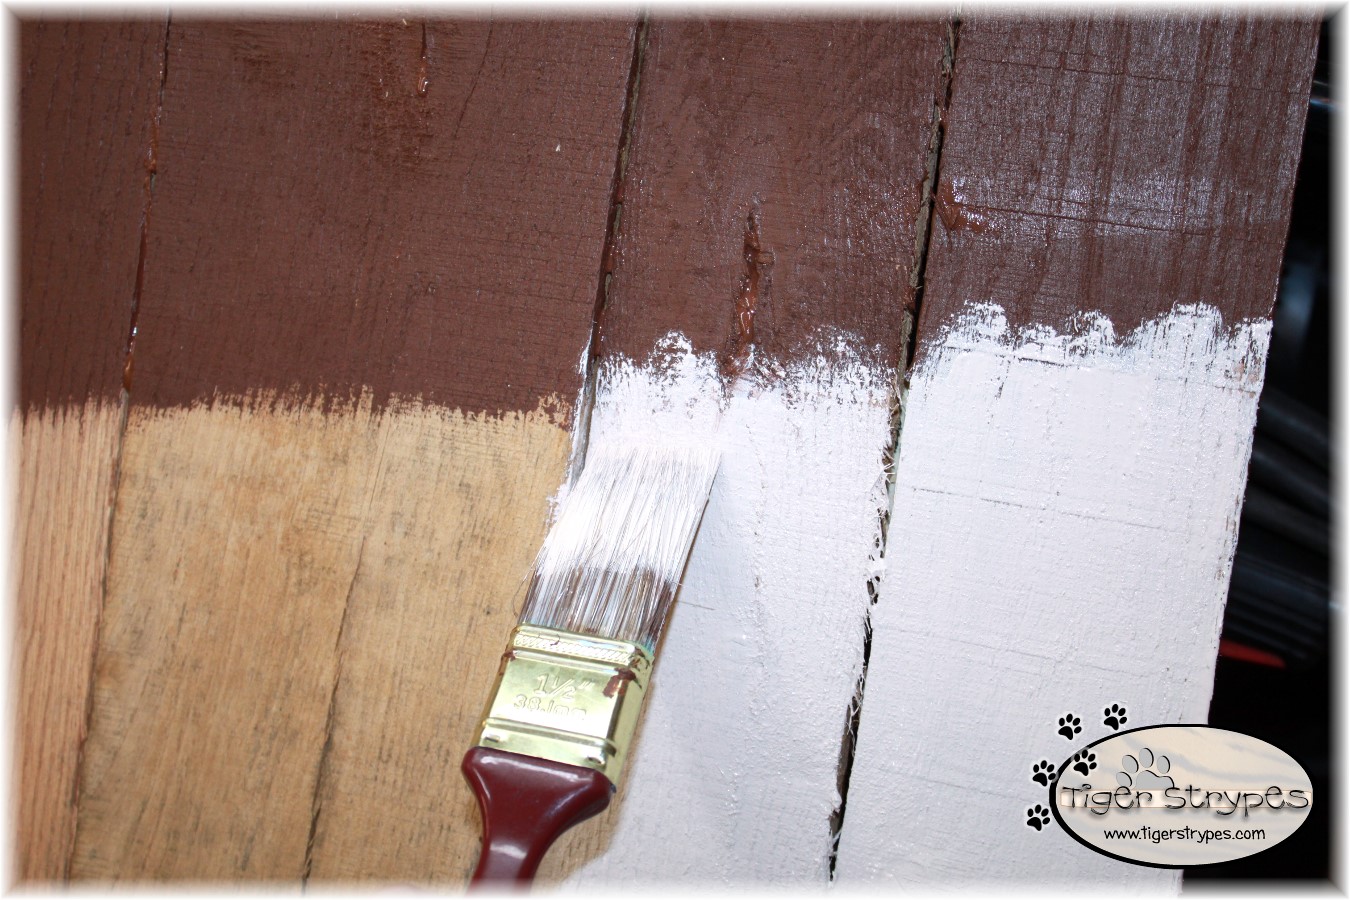
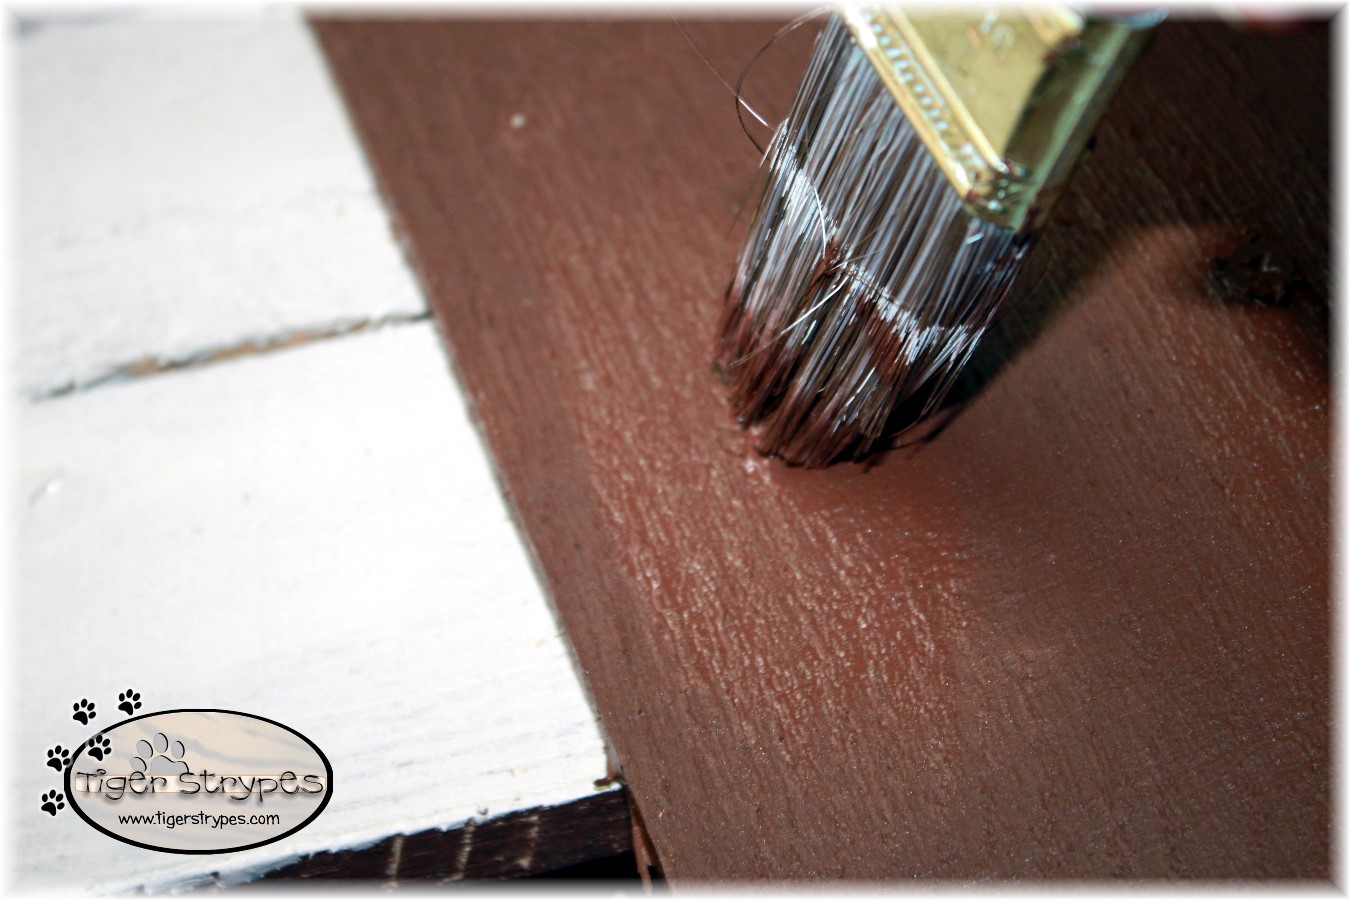
Next, I added some painters tape to the top of the front piece to split where the “hat” would be vs. the “face”. I painted this a dark brown, and let it dry before removing the tape.

Next, I painted the light color for the “face” under the brown. I didn’t have to worry about matching up with the edge of the brown color, since the board you’ll use as the “brim” in a few steps, will cover all of that up.
I also painted the back of the pallet with the brown color, when I was doing the front part. My husband said that would help to keep it lasting longer, having the wood outdoors braving the elements (hopefully we get some snow this season).
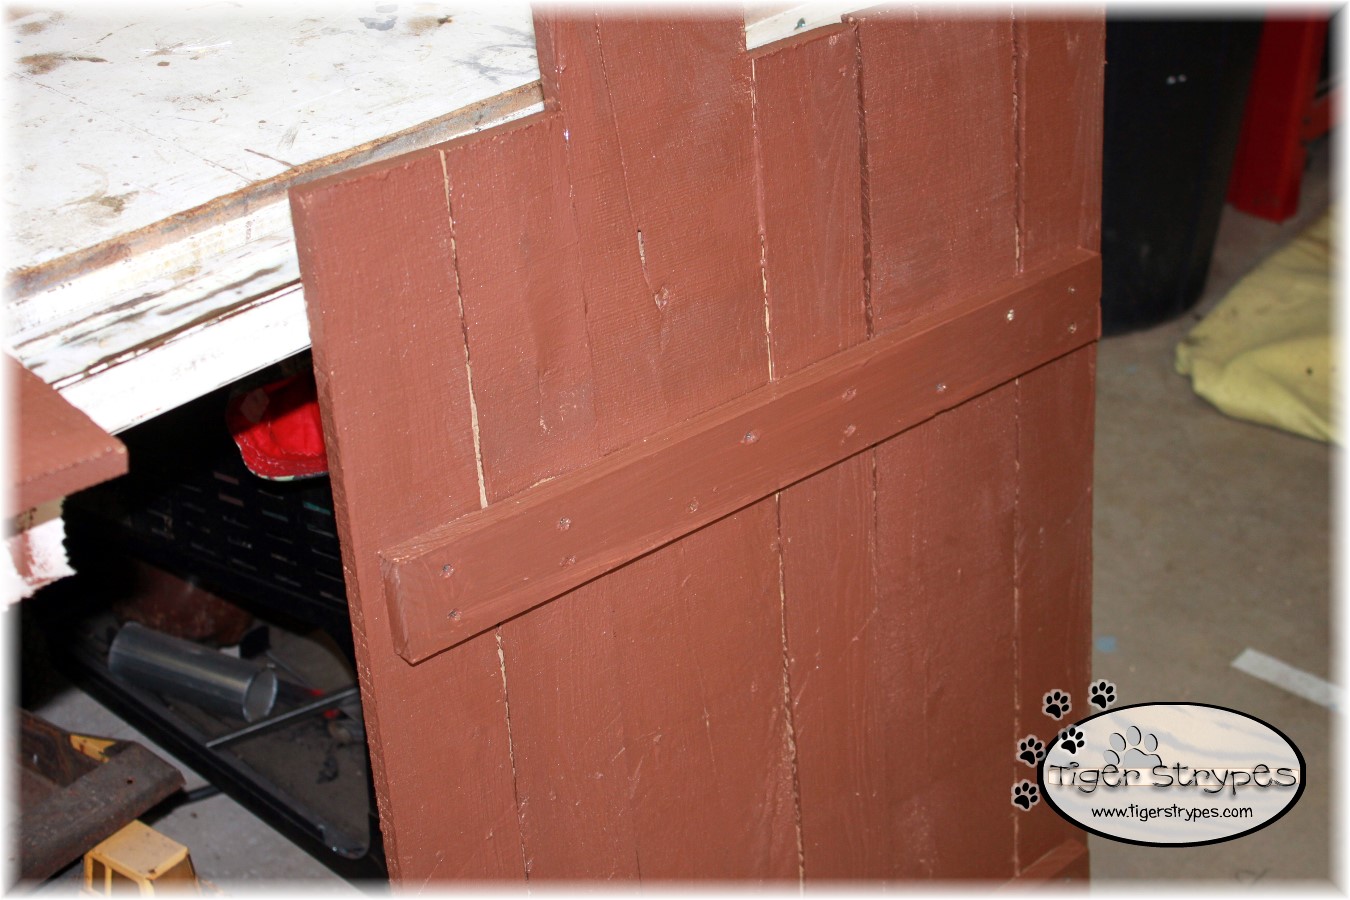
When all of the paint dries, you can attach the other piece of pallet wood that will be the “brim” of the hat. I had already painted that the same brown color, and let it dry before I screwed it in.
Once it was attached, I went back over the screws with the brown paint to cover them up, and make them a bit less noticeable.
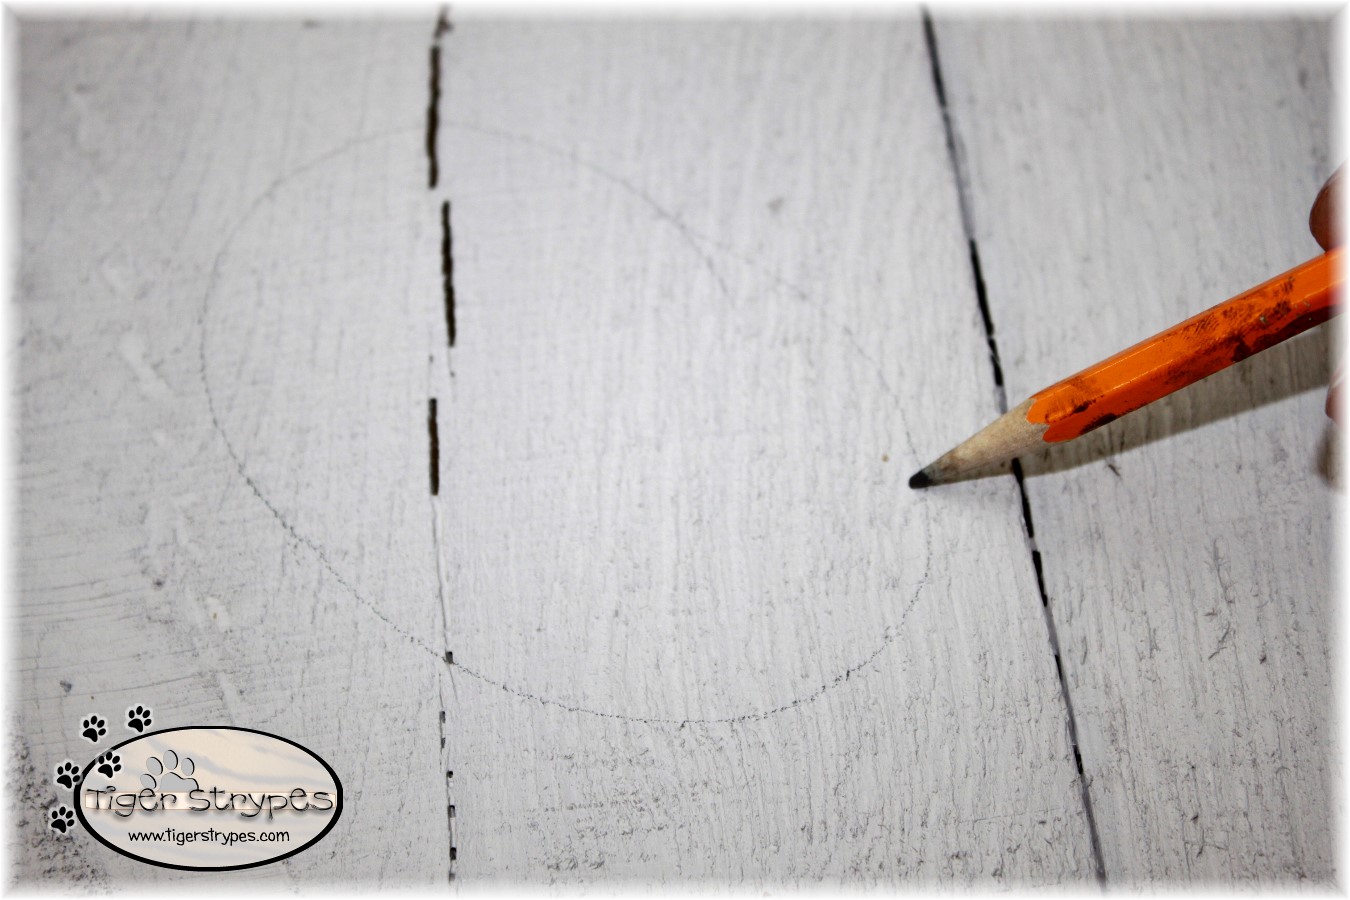
Now that all of the background paint had dried, I started working on the face details. Just using a pencil, I traced out the shapes of the eyes to paint. I did it freehand and very light, so I could change it up, if they ended up being different sizes, etc. It was easy to paint over the pencil to hide it.
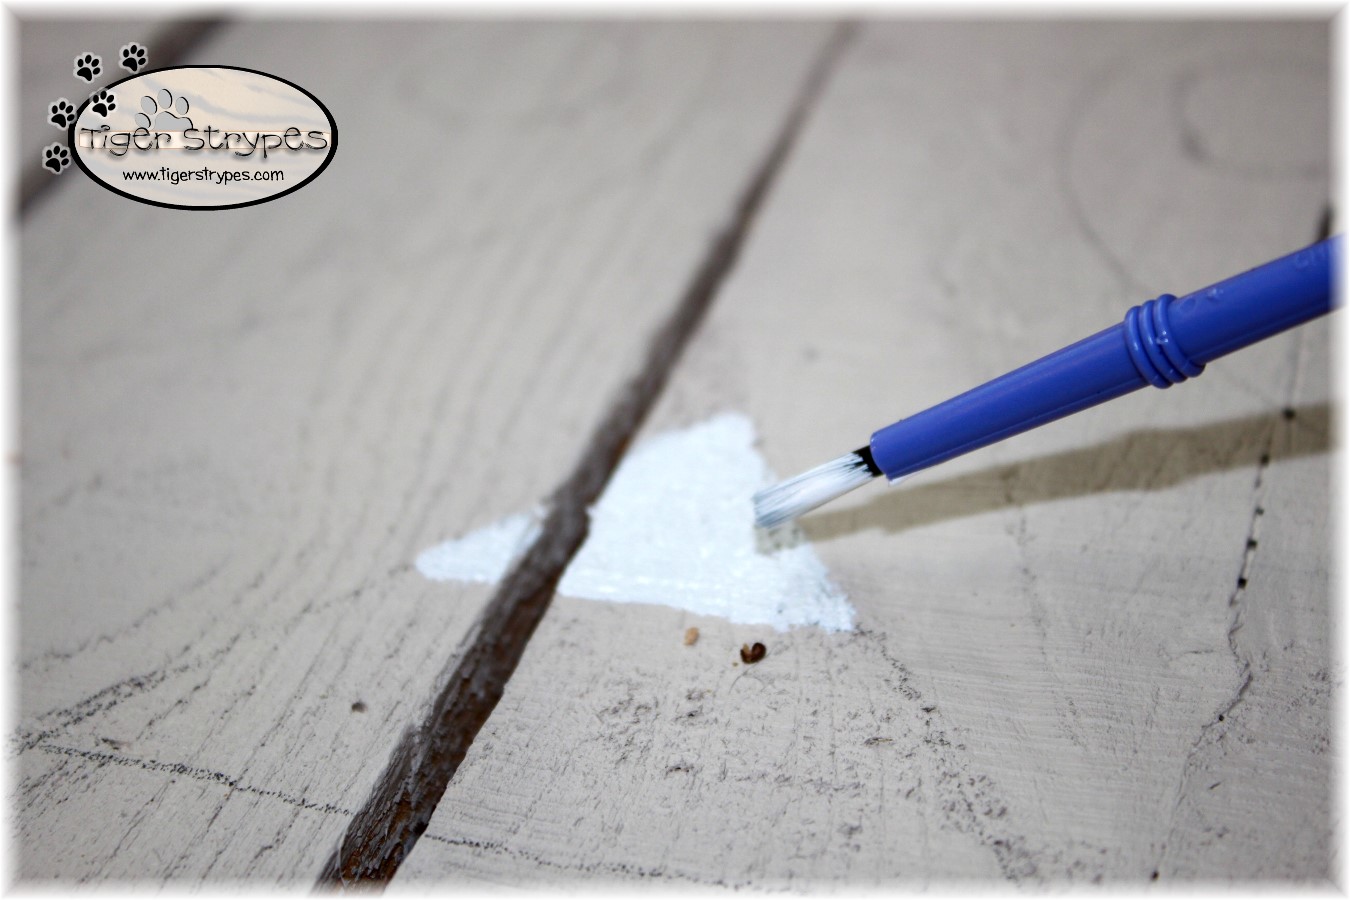
After the eyes were painted (leaving a little “white” opening), I used some adhesive to attach flat-backed glass beads, to bring the eyes out even more.

Then I drew on a “candy corn” nose shape under the eyes, and started to paint that in the three colors.
Once the nose was done, I used a black marker to outline it. Figured that would be easier than trying to paint a straight line…I’m not very good at doing that! :/

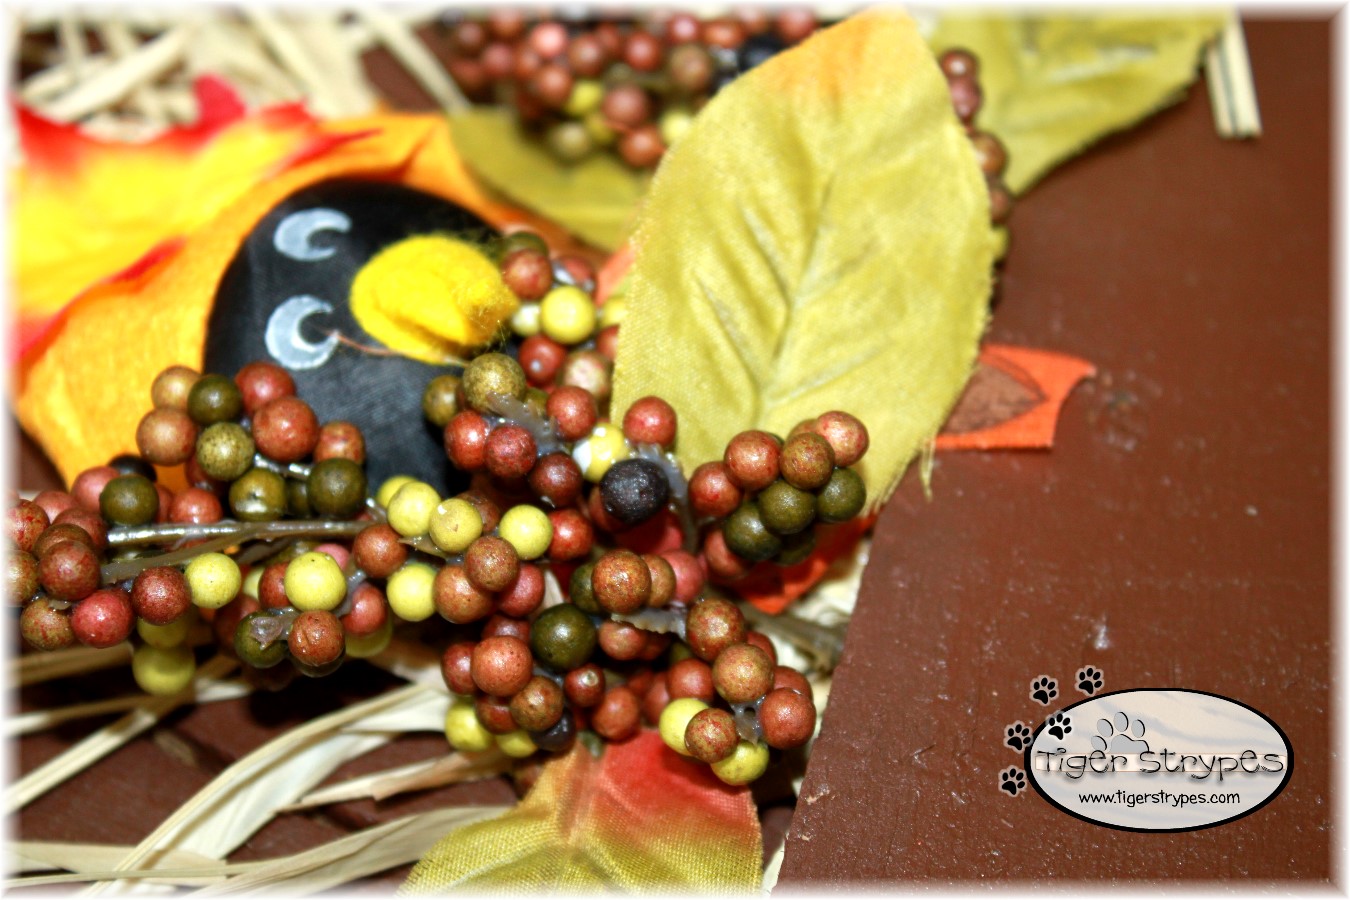
Next, I had a bunch of raffia from the dollar store that I wanted to use to decorate the hat. I pulled some out, and then secured the part I was going to use with a cable tie and cut it from the rest.

I then just used some wood glue, to attach it behind the hat – there was a little bit of an opening, due to a warped pallet piece…perfect!!

I then inserted some other decorative pieces, that I had found at the dollar store to add a bit more decoration to the brim of the hat.
When I was all finished, I just displayed it out in our front yard for the neighborhood to enjoy our little scarecrow!
I hope you like it! Please take a minute to leave me a comment, and let me know what you would do different, or what you would add, etc. Be sure to tweet, pin, share, etc. – thank you!!
“Consider the ravens: They do not sow or reap, they have no storeroom or barn; yet God feeds them. And how much more valuable you are than birds!”-Luke 12:24
![]()
HERE ARE SOME OF MY PREVIOUS PROJECTS:
 |
 |
 |
 |
 |
 |
PLEASE SHARE THIS POST USING THE OPTIONS BELOW…THANKS!!
*****************************************************************************************************
For more crafts from The Brand Connection, visit a few of my favorite bloggers:
- Create It Chalkboard by Confessions of an Overworked Mom
- Thanksgiving Leaf Banner & Centerpiece by B is 4
- Feather Rings by Adventures in All Things Food
- Tea Set for Dollies by Girlie Creation
- Tree Motor Skill Craft by Say It, “Rah-shay”
[…] Create Some Pallet Art by TigerStrypes Blog […]
[…] Create Some Pallet Art by TigerStrypes Blog […]
[…] some winter fun with Pallet Art from […]
Hi Jamie,
I really love the final outcome of this wooden pallet project. I couldn’t guess how it was going to look. I really think that the process of making it is pretty easy and although I am not usually good in woodwork, I think this is something that I should really give a shot. Thanks for sharing.
Cindy
Thank you Cindy – it was sure fun to make!
This is so adorable and not even scary! Can’t believe that Thanksgiving is next week and Christmas is so close then the end of the year…. What’s lovely year!
Thanks Maggie – it was fun to make!! Hoping you have a great holiday! 🙂
That Scarecrow looks so cute, Jamie. Wish I had all those tools and room to make something fabulous like this .:) #HomeMattersParty
You could always make smaller ones with Popsicle sticks! 🙂
My goodness that scarecrow is adorable! I love your pallet art. Who would have thought something so cute could be made with pallets. Coming over from Home Matter Linky party.
Thank you Kim – it was really fun to make!
This is such a cute project! Hmm… I’m about to have some guys with power tools and a bunch of pallets at my house. Maybe I can rope them into some crafting!
Great idea!! Put them to work, Jenny! 🙂
He’s adorable! I love him just the way he is. I love the little crow and berries. I made one similar to this recently myself. Thanks for sharing! Pinning!
Thanks Linda – they are so fun to make!
Aw, this is really, really cute! Thank you for sharing your project with us at Snickerdoodle Sunday!
~Laurie
Thank you Laurie!! Thanks for the great link-up! 🙂
I need to go scavenging for pallets – this is so cute! #HomeMattersParty
Thank you Audrey – they are so fun to make!
This is an awesome idea and it looks so cute. I haven’t done this kind of art with pallets before but I will have to try it. Thanks for the idea.
It was so much fun!! I always love making something new from something old. Let me know if you make one! 😉
Awww he’s adorable! What a fun project.
Looking forward to another weekend of good times with the #HomeMattersParty
Thanks Alayna – it was really fun to make!
I love this idea! I have some old pallets laying around and this would be awesome to use them for! #HomeMattersParty
There are so many different things you can make from them – have fun!
[…] some winter fun with Pallet Art from […]
[…] some winter fun with Pallet Art from […]
[…] some winter fun with Pallet Art from […]
Such a cute idea that will last all fall! I love the hat decoration. #HomeMattersParty
Thanks Vickie – it was fun to make!
I love how your Scarecrow turned out! What a great way to decorate for fall. I haven’t tried my hand at pallet art, but this project is just too adorable!
Thanks Andrea!! It’s so much fun to make something new from something usually thrown in a corner! 🙂
That’s pretty cool. It wouldn’t look that pretty if I did it, haha.
Oh, it would look wonderful – just a bit different! 🙂
This looks very cute! I have never seen a scarecrow made out of a pallet.
Thank you Maggie – you can make so many things from old pallets! 🙂
Although much too difficult for me to make and as I live in an apartment-no place to saw that wood or paint it for that matter. I do love the way it came out and I’m sure your neighbors will be giving you compliments as well!
You could always make a small one with Popsicle sticks! 🙂
Oh how I adore this little guy! So cute!!!!!! I envy your creativity!
You are just as creative Rose!! Thank you.
Cute! I always see pallets but never know what I could do with them. This is a great idea.
Thanks Rachee!! It’s so fun to make something from them, and there are so many ideas online! 🙂
This turned out so well, love it! I’ve been seeing pallet art everywhere, too and want to create my own soon. So sweet of your husband to help! Love the face on it 😀
Thank you Bernadyn – and thanks for sharing it, too! 🙂
I love this idea! I’m always nervous with power tools but I need to try more.
Don’t be nervous Ellen…just be safe. They are so easy to use and make things go so much quicker!!
[…] Create Some Pallet Art by TigerStrypes Blog […]