

Giant Button Wall Art
#DIY #Craft #Home
I saw this project on Fave Crafts years ago, and thought it would be fun to make. I decided to add a bit more to it, and then gave it to a friend for her Sunday School room at church. It was fun to make and would be perfect for a craft room, or any area that you would like to decorate with something like this.
I found almost everything I needed at the home improvement store, and already had on hand the rest, so this was really easy. I think the hardest part, was waiting for the paint to dry. Why can’t that happen faster? ha/ha I sure hope that you like it! Have a blessed day, and please be sure to comment on, and share this craft on your social media channels – thanks!

Giant Button Wall Art
Materials/Tools Used:
- 15″ Circle Board
- Drill
- 1″ Wood Boring Bit
- Spray Paint
- Yarn/Thread/Rope
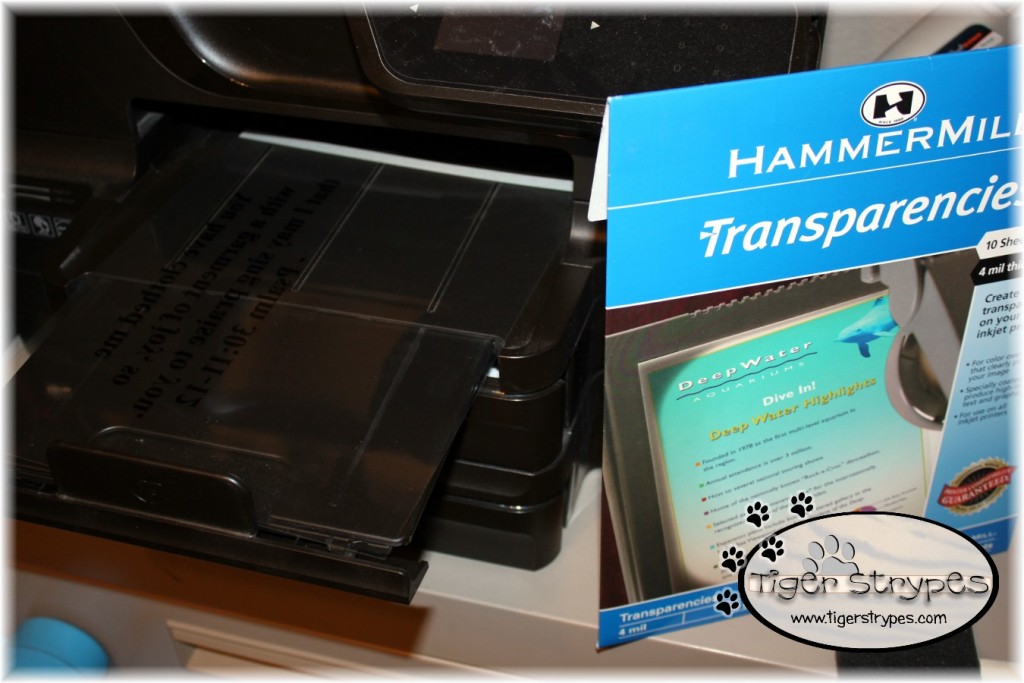
- Printable Transparency Sheet
- Printer / Pen
- Gel Medium / Brush
- Picture Hanger Kit
- Protective Gloves
- & Time!
Instructions:
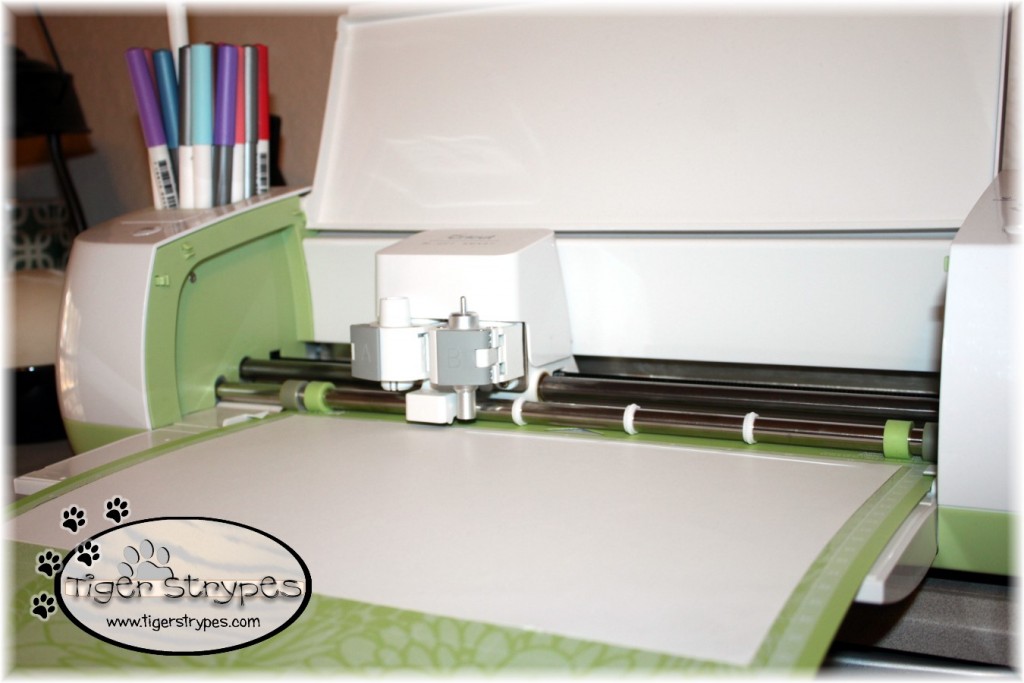
I started by using my Cricut to cut out four (4) circles that would be the template for the button holes. Using the size of about 1″ each.
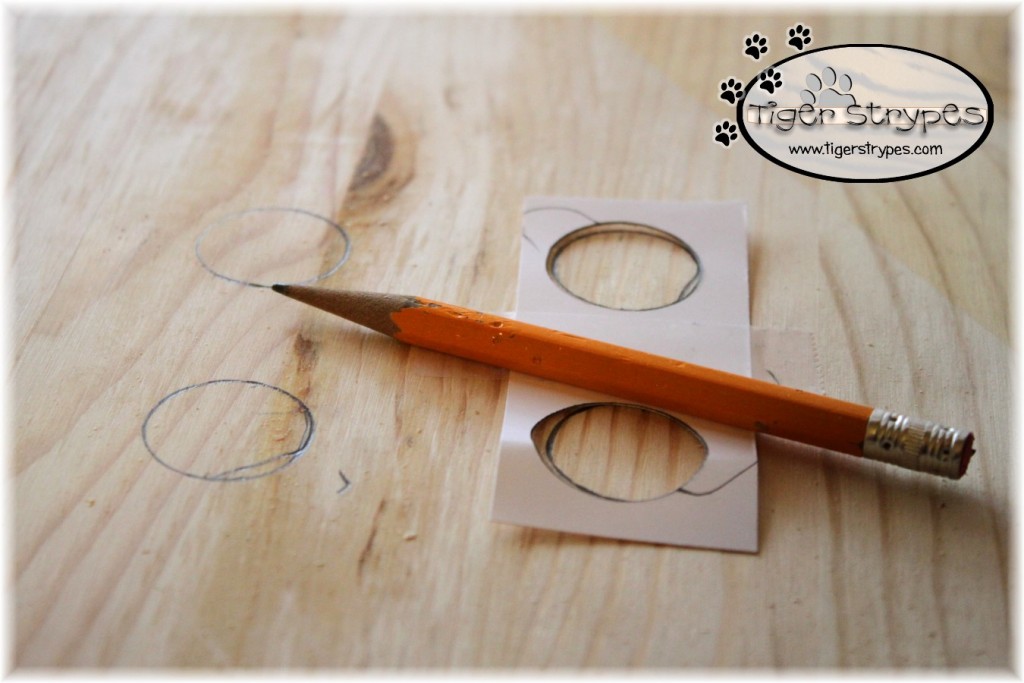
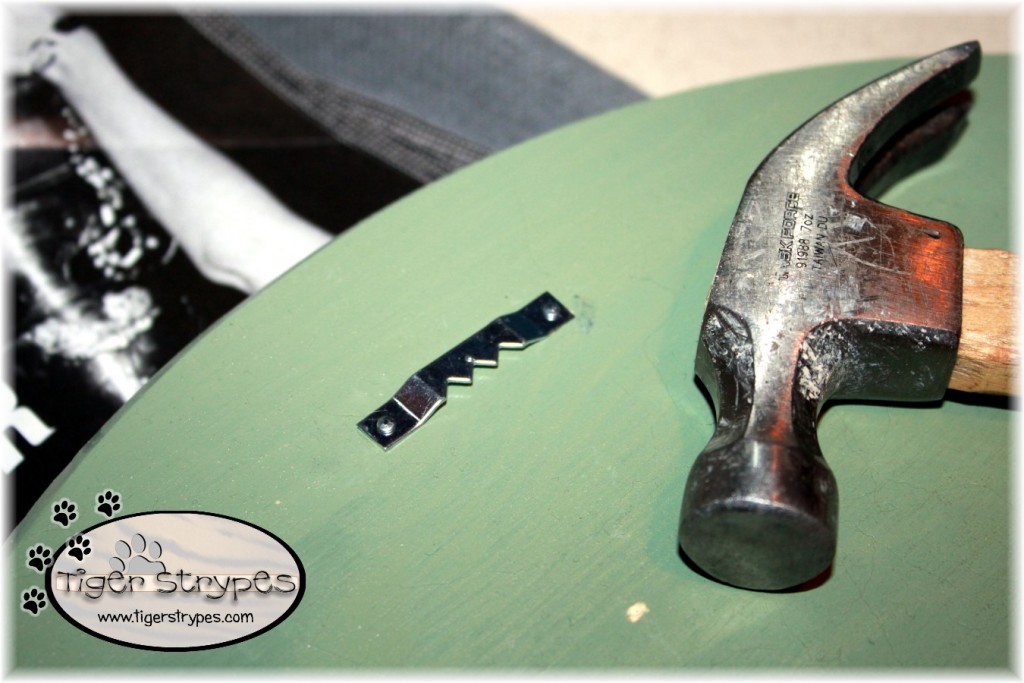
Next, I trimmed the piece of paper, and secured them onto the center of the wood. Using a pencil, I traced the circles on so that I would know where to drill the pieces out, and have them come out even.
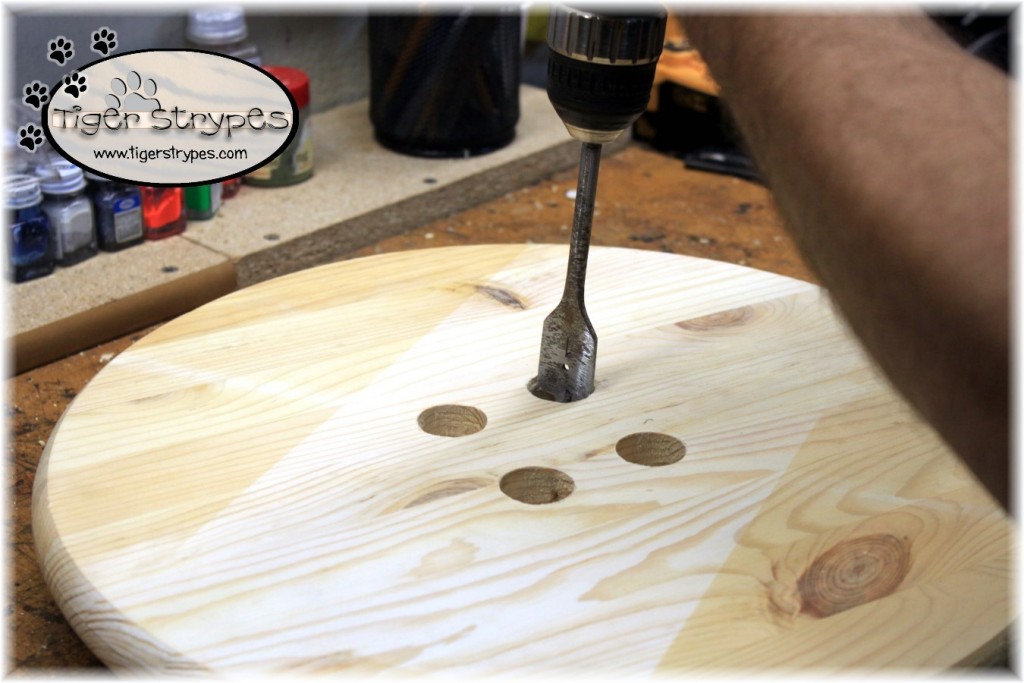
Once I had them marked, my husband helped me to drill the holes out with a boring bit on his drill. Once they were finished, we just used a small piece of sandpaper to sand the edges of the holes.
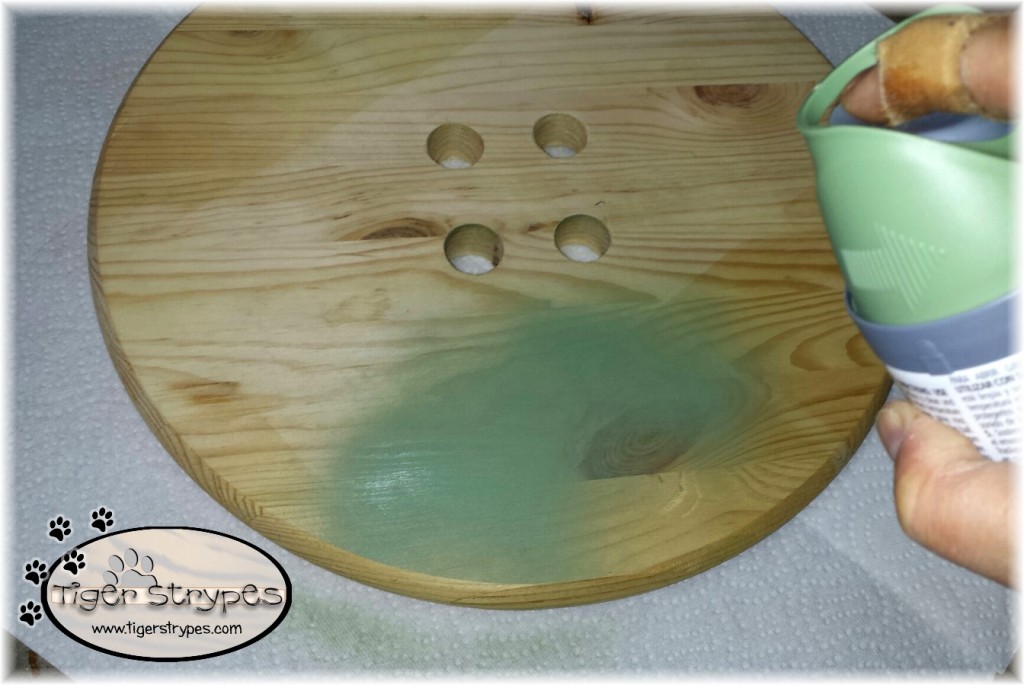
I then picked out some spray paint, and started coloring the piece of wood.
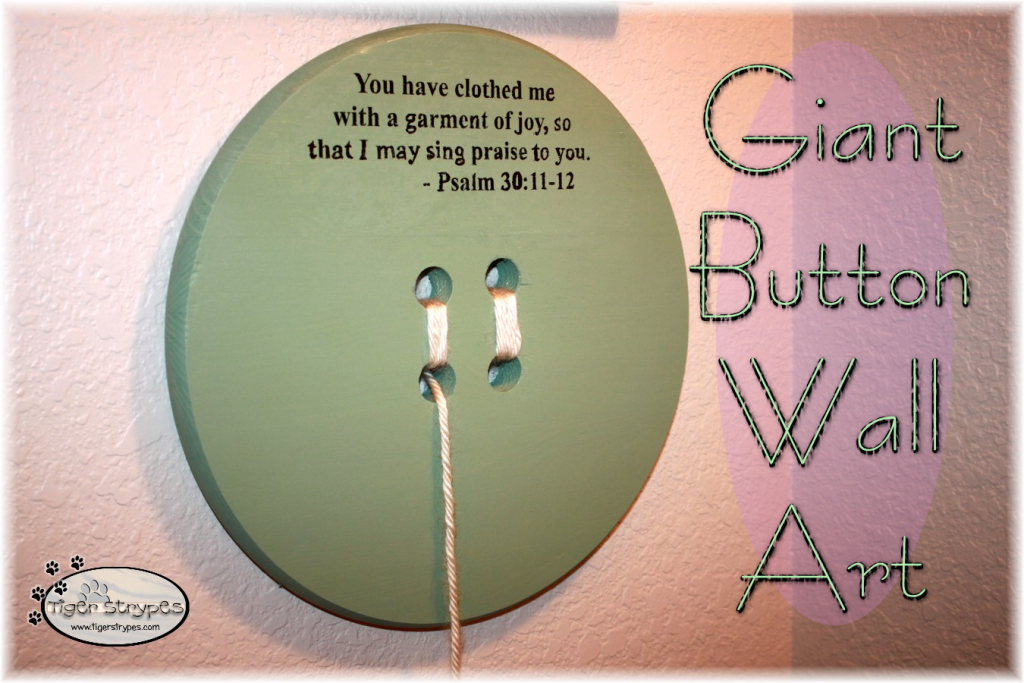
Now while I was waiting for the paint to dry, I started working on the other part of my project. Using my Picture It! program, I designed some text to add to the top of the piece. If you’re going to do this part, be sure to have the text mirrored, so that it comes out correctly on the wood.
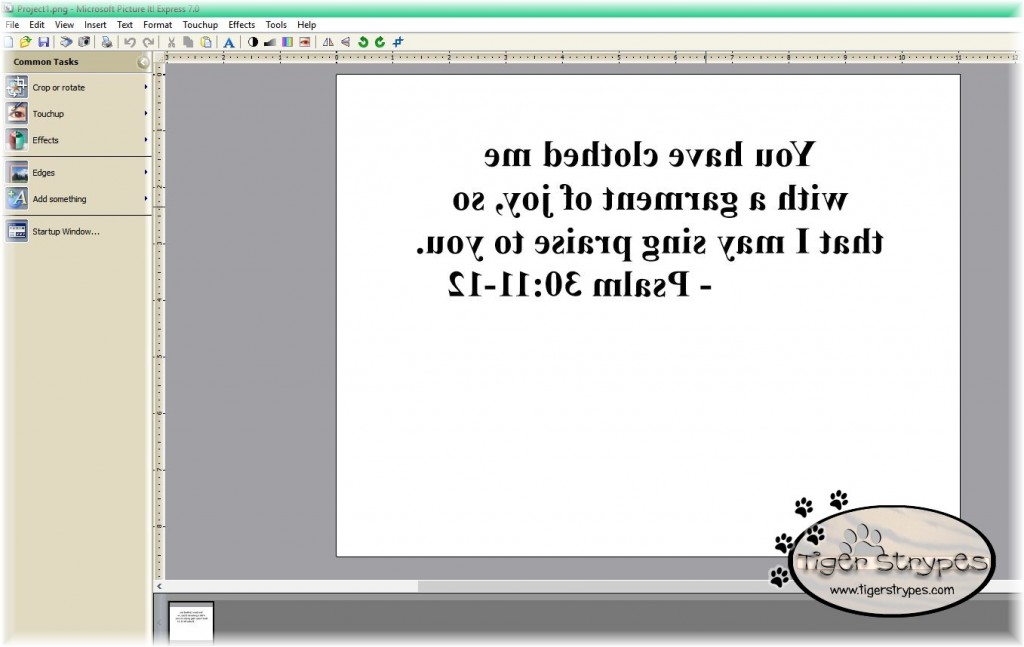
When I had the font and size that I wanted, I printed the text out on a piece of the transparency paper. This will help for it not to stick on the piece of wood after it dries. Trust me…tried it with regular paper first. :-p
When the paint on the button had fully dried, I then painted on some gel medium to where I wanted the text to go. Then, I just put the transparency piece over the top of it, and using a vinyl sticker applicator tool, rubbed out the air bubbles, and made sure that the text was completely adhered to the wood.
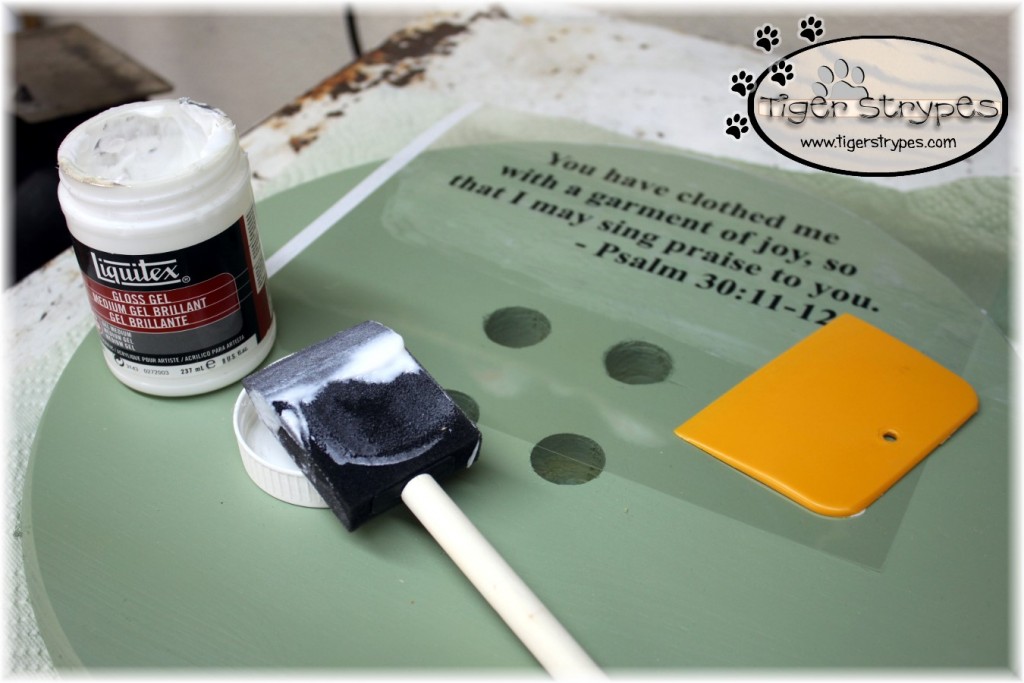
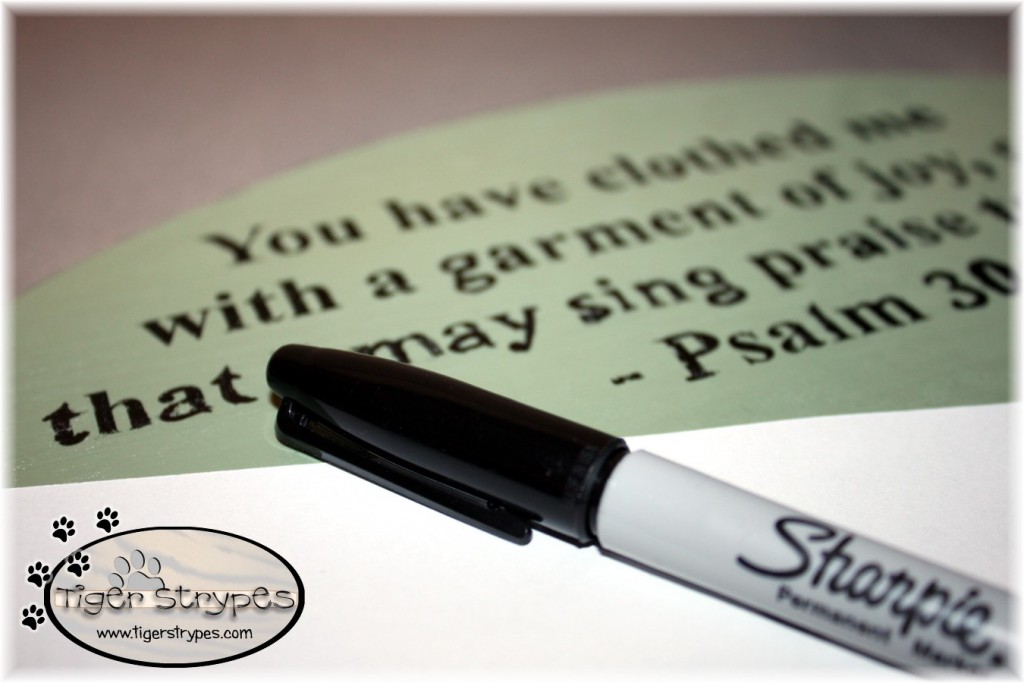
Once the gel had dried, I removed the transparency, and then using a marker, filled in the spots that didn’t take completely from the piece that was printed.
Next, I added a metal photo hanger with its’ small nails to the center top of the back. Watch your fingers!!
Now, using a glue gun, I attached a piece of the rope, or string to the back of the button and start feeding it through, top to bottom, until there was as much as I wanted. I then cut it and glued the end piece on the back to hide it. You’ll do this for the other side, as well, but do not cut the end off just yet.
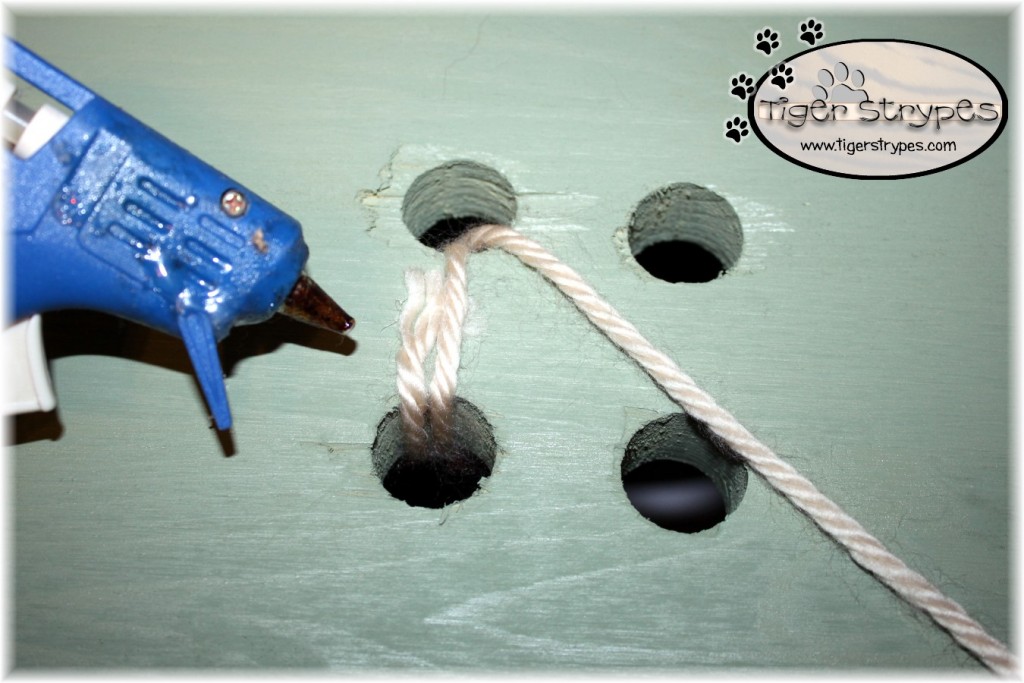
Once I’d wound it around as many times as I wanted, I made a knot on the back to secure it.

Then, just I just fed that through the front, and trimmed it to the length I wanted. Now, you can hang it wherever you wish, and enjoy your creation!
I hope you like it! Please take a minute to leave me a comment, and let me know what you would do different, or what you would add, etc. Be sure to tweet, pin, share, etc. – thank you!!
“Hear me, Lord, and have mercy on me! Lord, help me! You have turned my mourning into dancing; you took off my sackcloth and clothed me with a garment of joy, so that I may sing praise to you and not remain silent. Lord, my God, I will give you thanks forever!” –Psalm 30:10-12
![]()
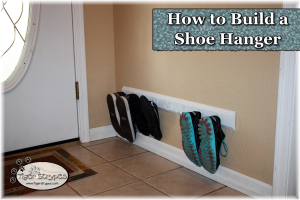
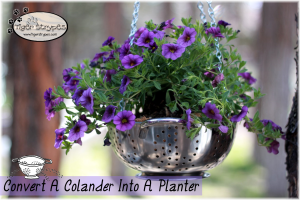
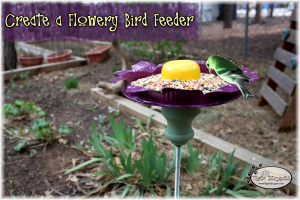
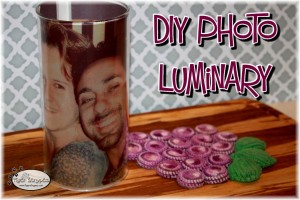
HERE ARE SOME OF MY PREVIOUS PROJECTS:
 |
 |
 |
 |
 |
 |
PLEASE SHARE THIS POST USING THE OPTIONS BELOW…THANKS!!
*****************************************************************************************************
Super cute, you are so crafty! I love DIY wall art. It can be expensive to fill the walls of your home if you buy everything. DIY options are often my first choice #HomeMattersParty
I agree, it can get expensive. I love to change things up, so saving money is important! 🙂
What an easy project. Lots of fun. 🙂 Thanks for sharing and being a wonderful co-host of the #HomeMattersParty – we love having you on the team! 🙂
~Lorelai
Life With Lorelai
It was pretty easy and fun to give as a gift! 🙂
Jamie, I just love this! I am still learning to use my Cricut, so I love to get new ideas! Thanks for sharing at #HomeMattersParty
There are so many great things that you can use it for. Let me know if you figure out something cool! 🙂
Wow, Love it. Such a thoughtful idea.
Thank you – it was fun to make!
I love this idea for displaying this Bible verse! #HomeMattersParty
Thanks Stacey, it was supposed to just be plain, but I wanted to change it up and use it for God’s glory! 🙂
What a cool way to display scripture. I have to show this to our sunday school teacher.
That’s exactly who I gave this to, when it was finished!! Figured it was a fun way to get the kids to read it! 🙂