
 Make Your Own Brown Bag Turkey for Thanksgiving
#TBCCrafters #TigerStrypesBlog
I saw one of these on Fave Crafts and about fell on the floor – how fun and what a great thing to make for your kid’s school or the kid’s table at Thanksgiving time. It was really easy to do, I think the hardest thing about it was trying to find paper bags up where I live…really?…you think it would be easy, huh? I went to three different stores and finally found some at Safeway in Pinetop near where we live. The size was a lot different that the ones I remember (thus the wider bird 😉 ), but they worked great and I was happy to not take home plastic!! ha/ha
I hope you like it!! Have a blessed day, and please be sure to comment on and share this #TBCCrafters craft!!
![]()
“Brown Bag Turkey” Craft
Materials/Tools Used for the Turkey:
- Brown Paper Bag (1)
- Brown Lunchbags (2)
- White Paper (8.5×11)
- Packing Peanuts
- Scissors or Cutter
- Glue Gun & Tape
- Popcorn (4-5 bags)
- & Time!
Instructions:
Begin by cutting an 8.5×11″ sheet of white paper in half lengthwise. I used my paper cutter to make it easier, since with scissors, I can NEVER cut straight. Once you have it cut, fold the piece in half (again lengthwise) and use some scissors to cut little strips (on the folded side). Repeat this with the other one, as well. These will be your “Frill Booties” for your “turkey”.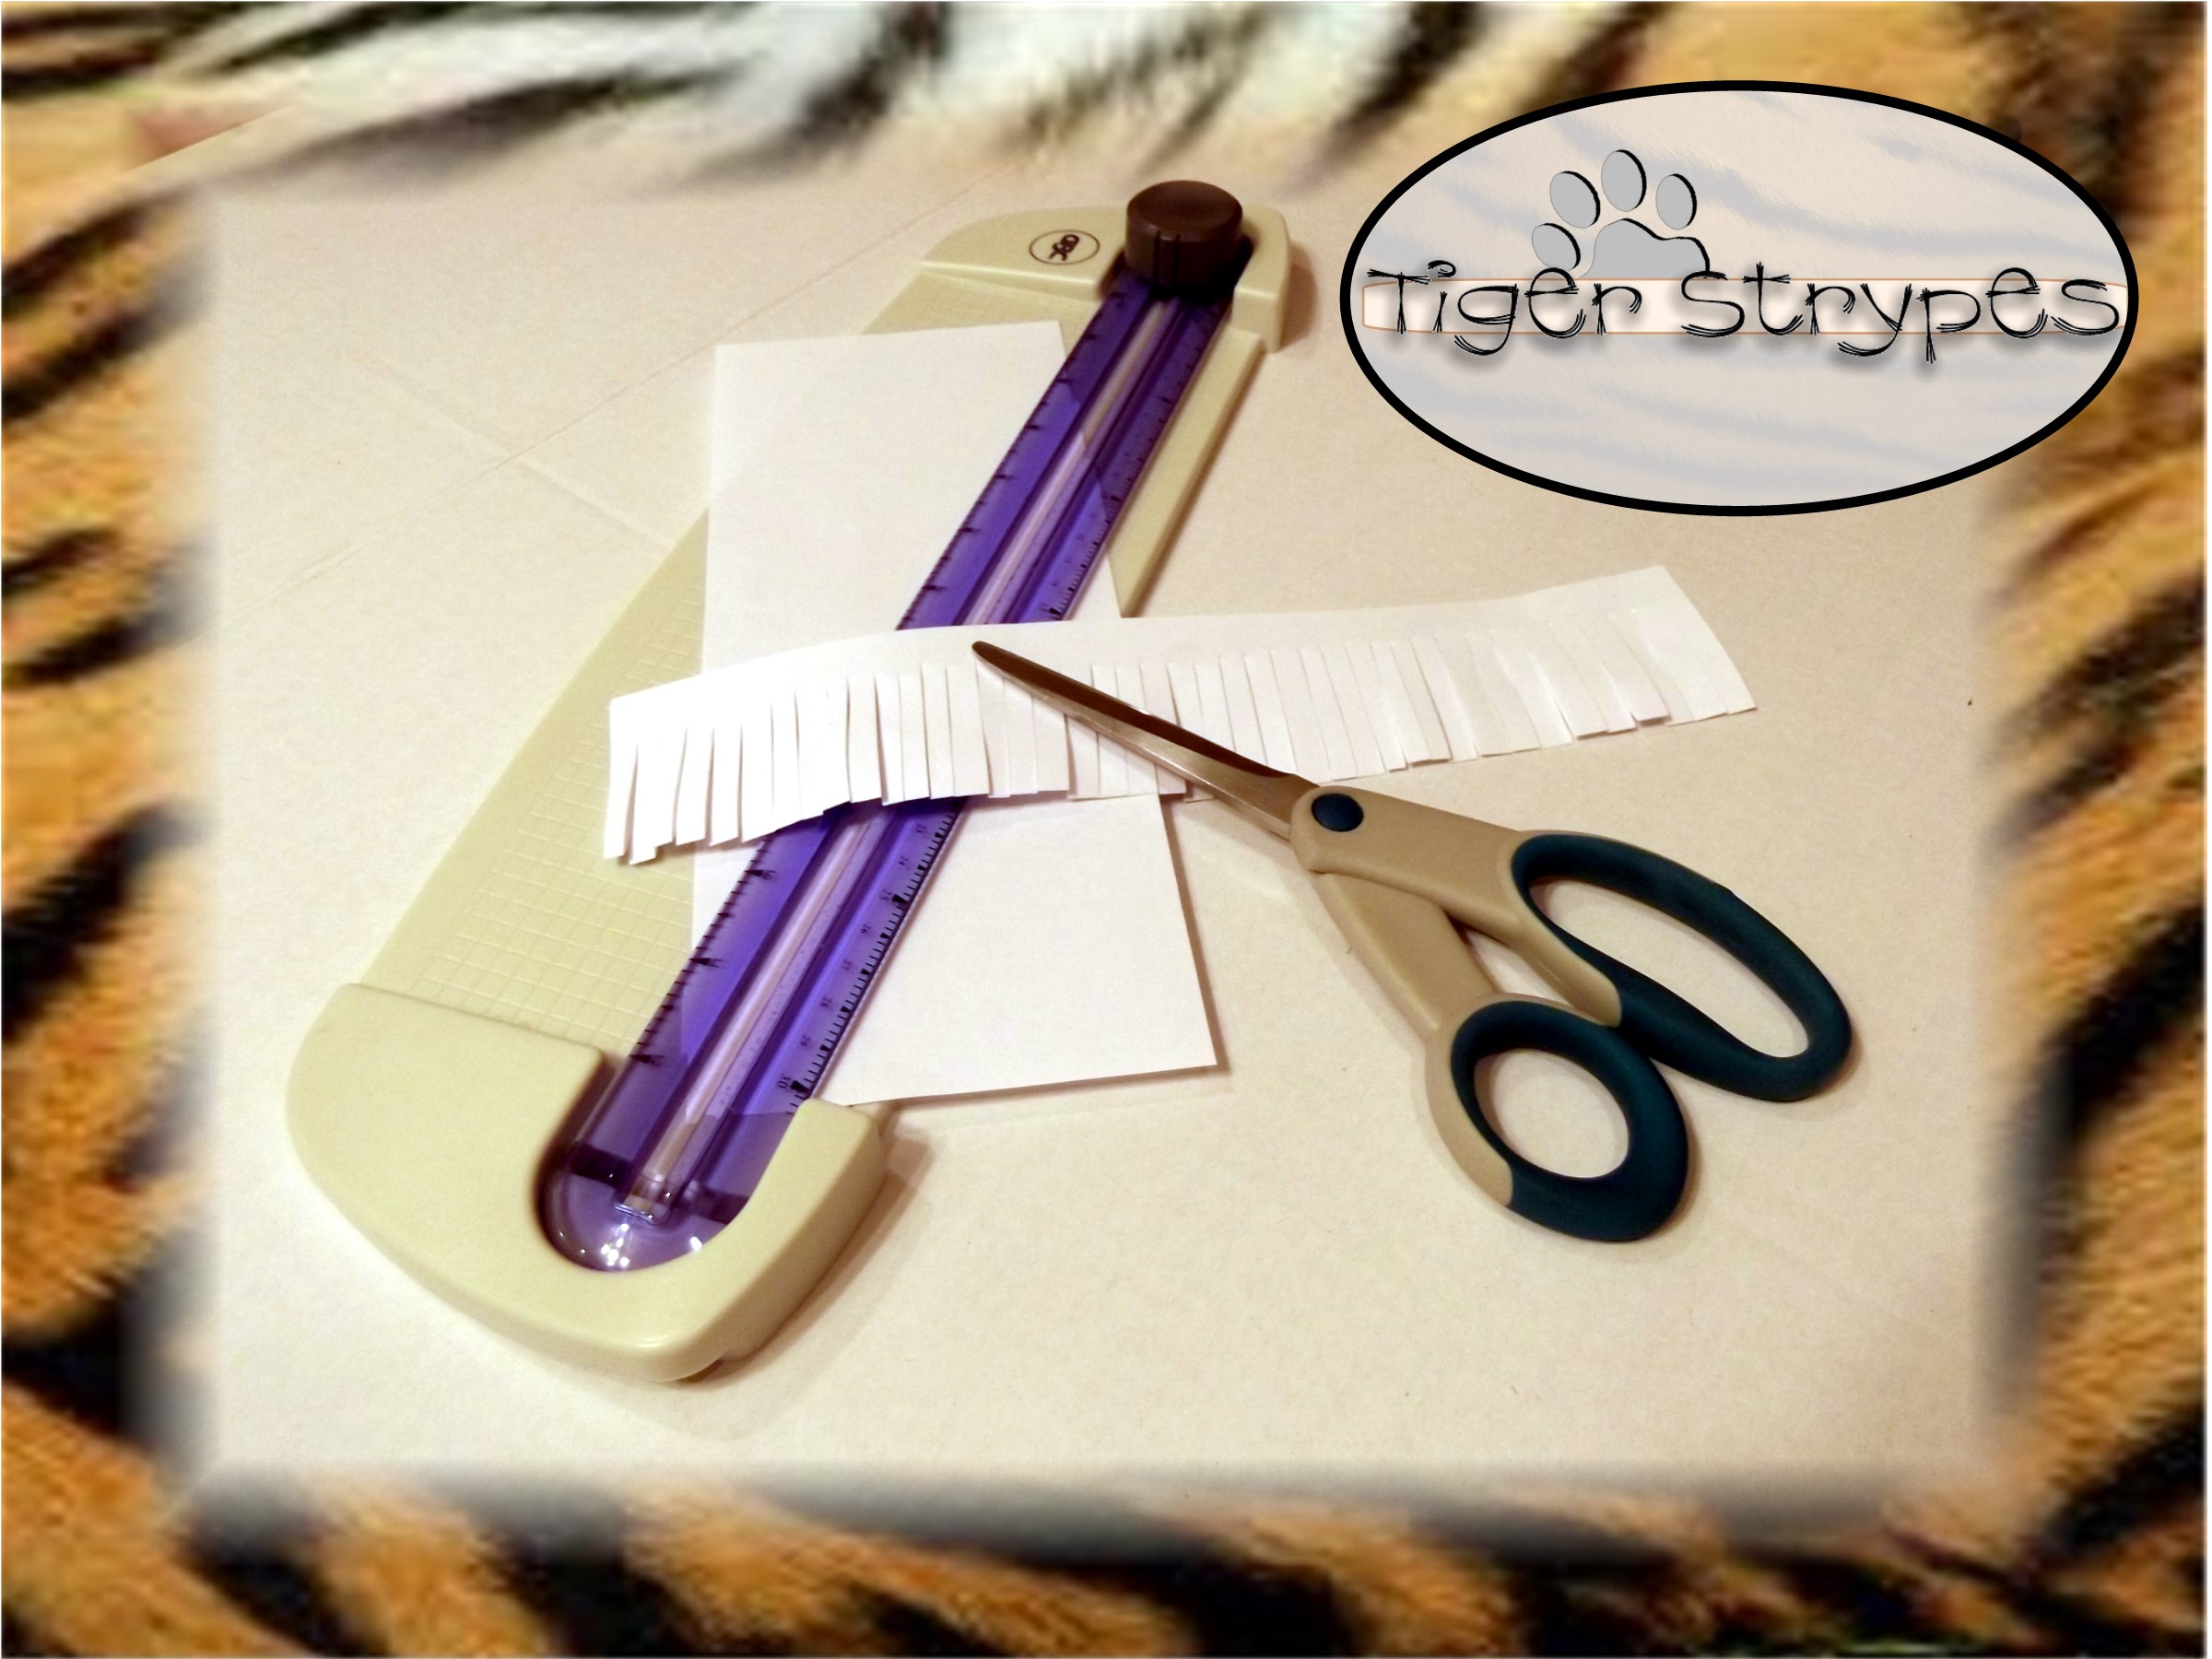
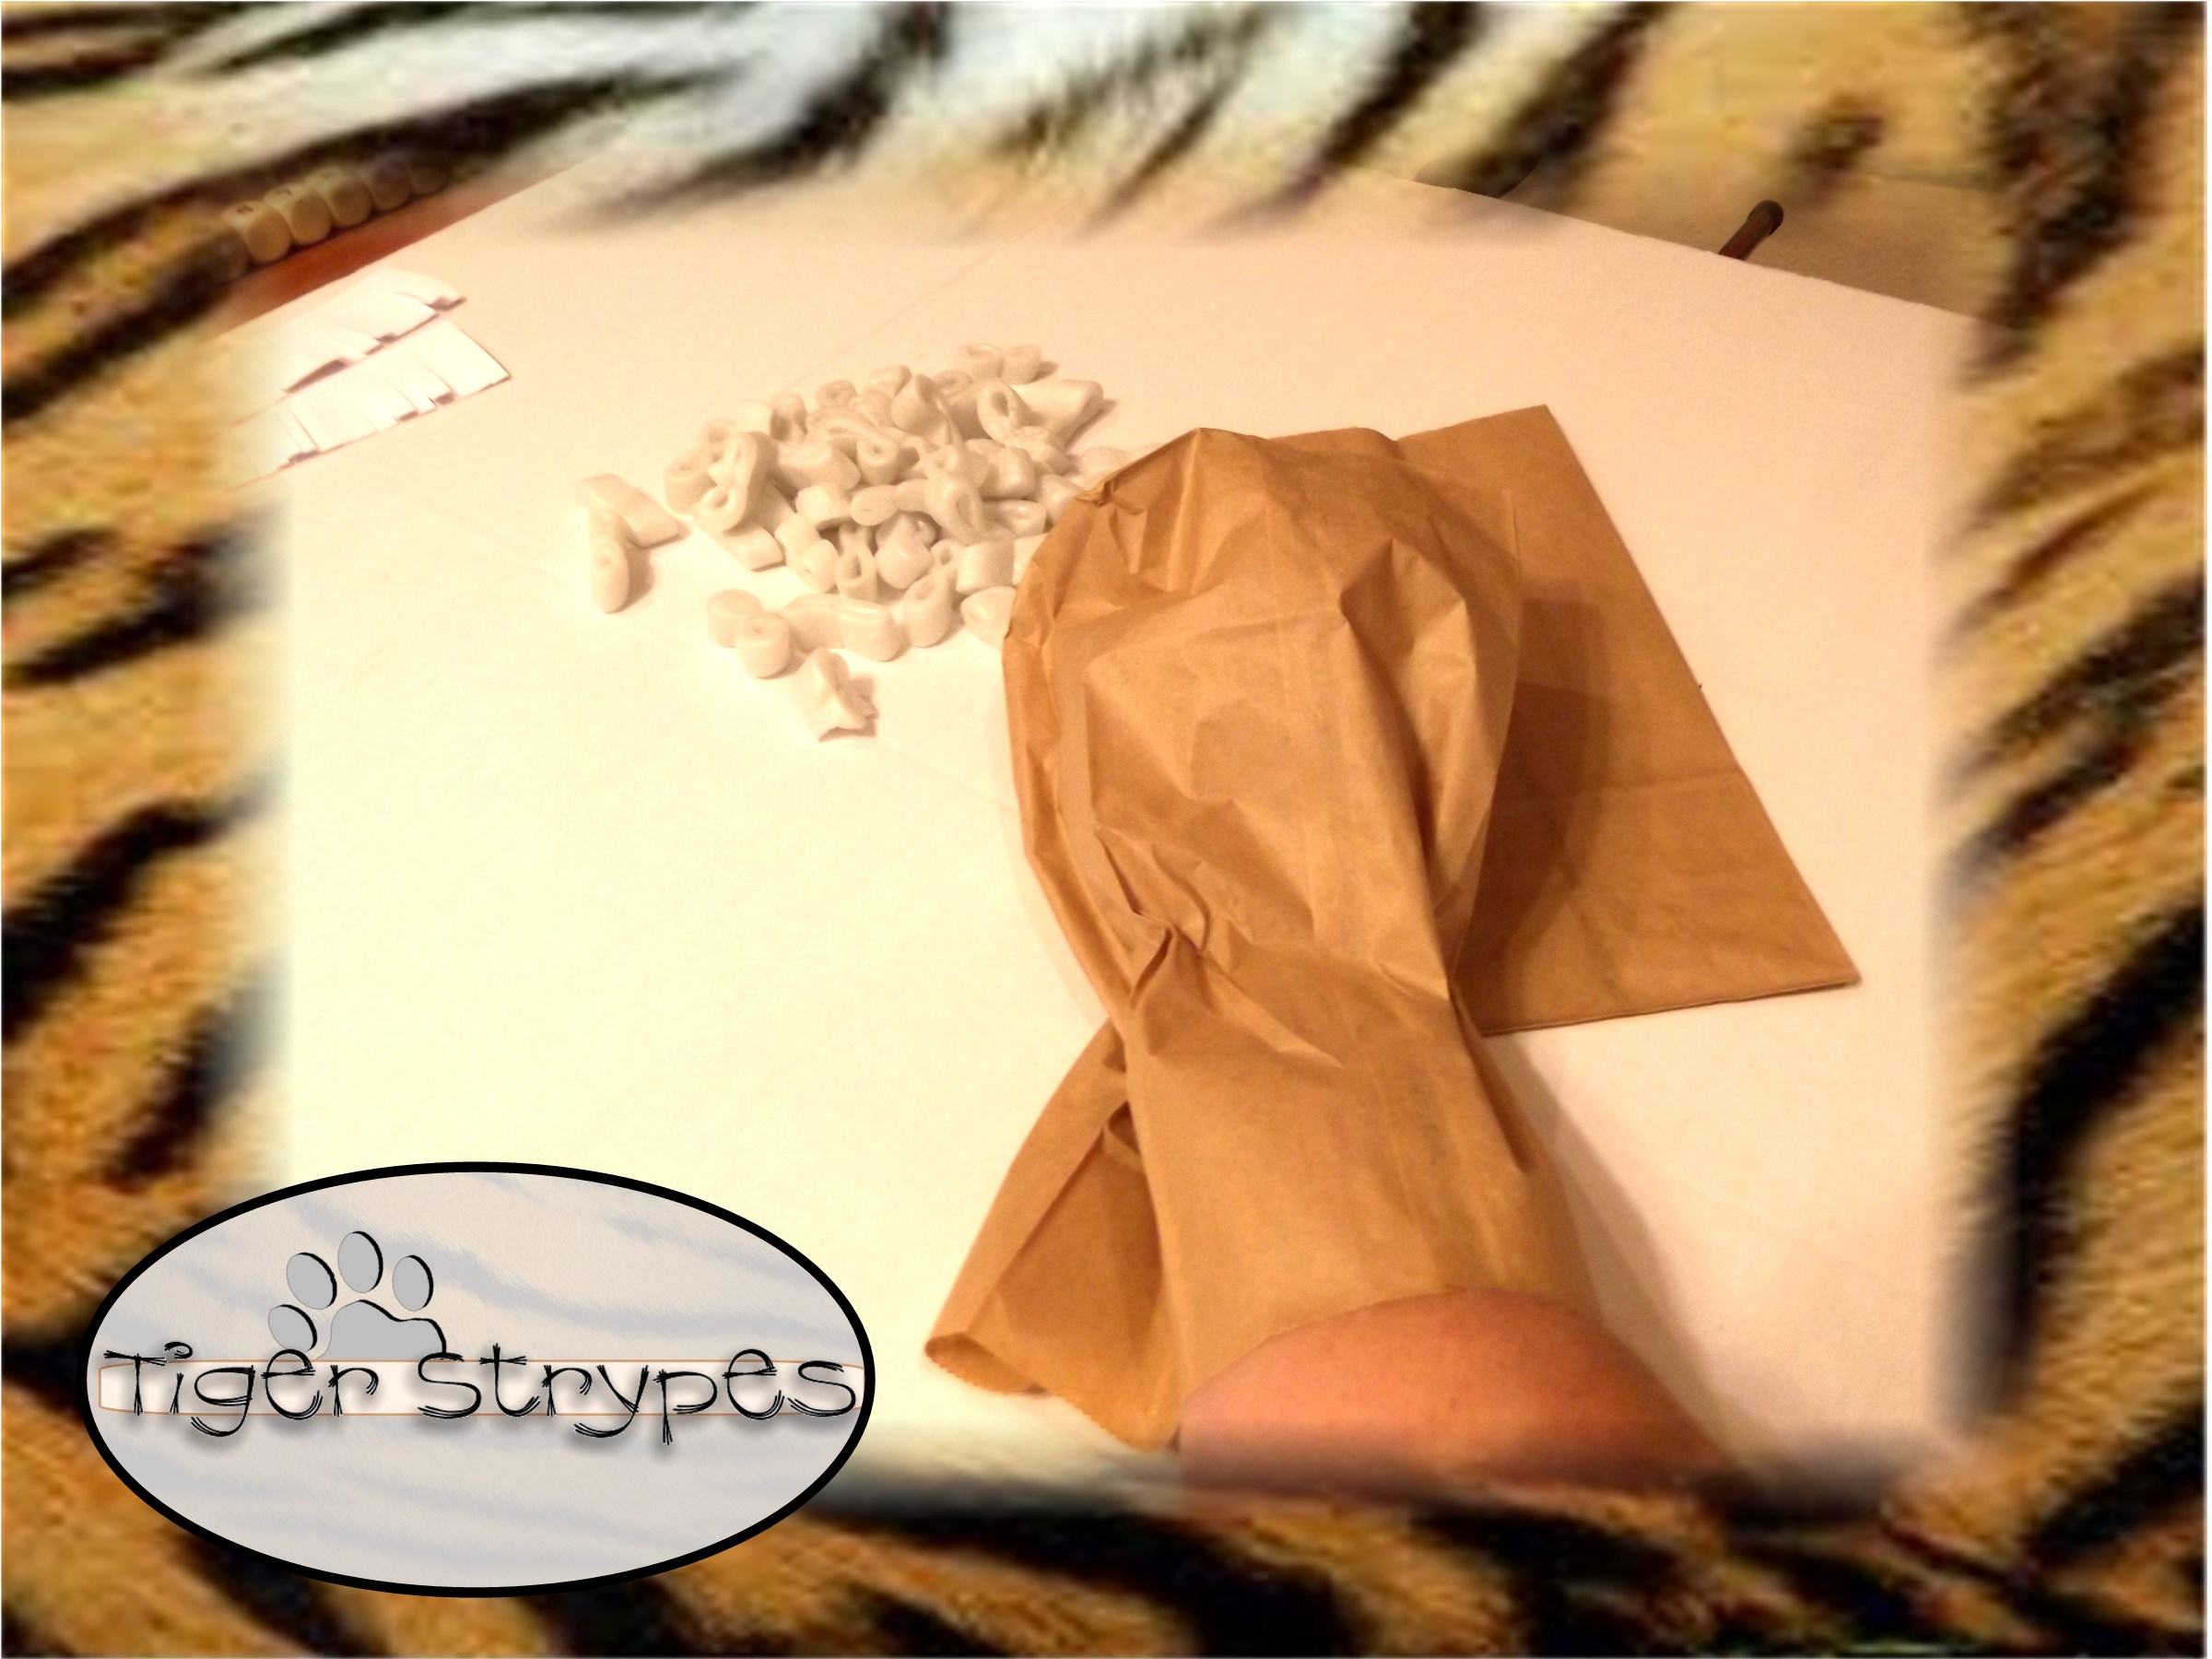
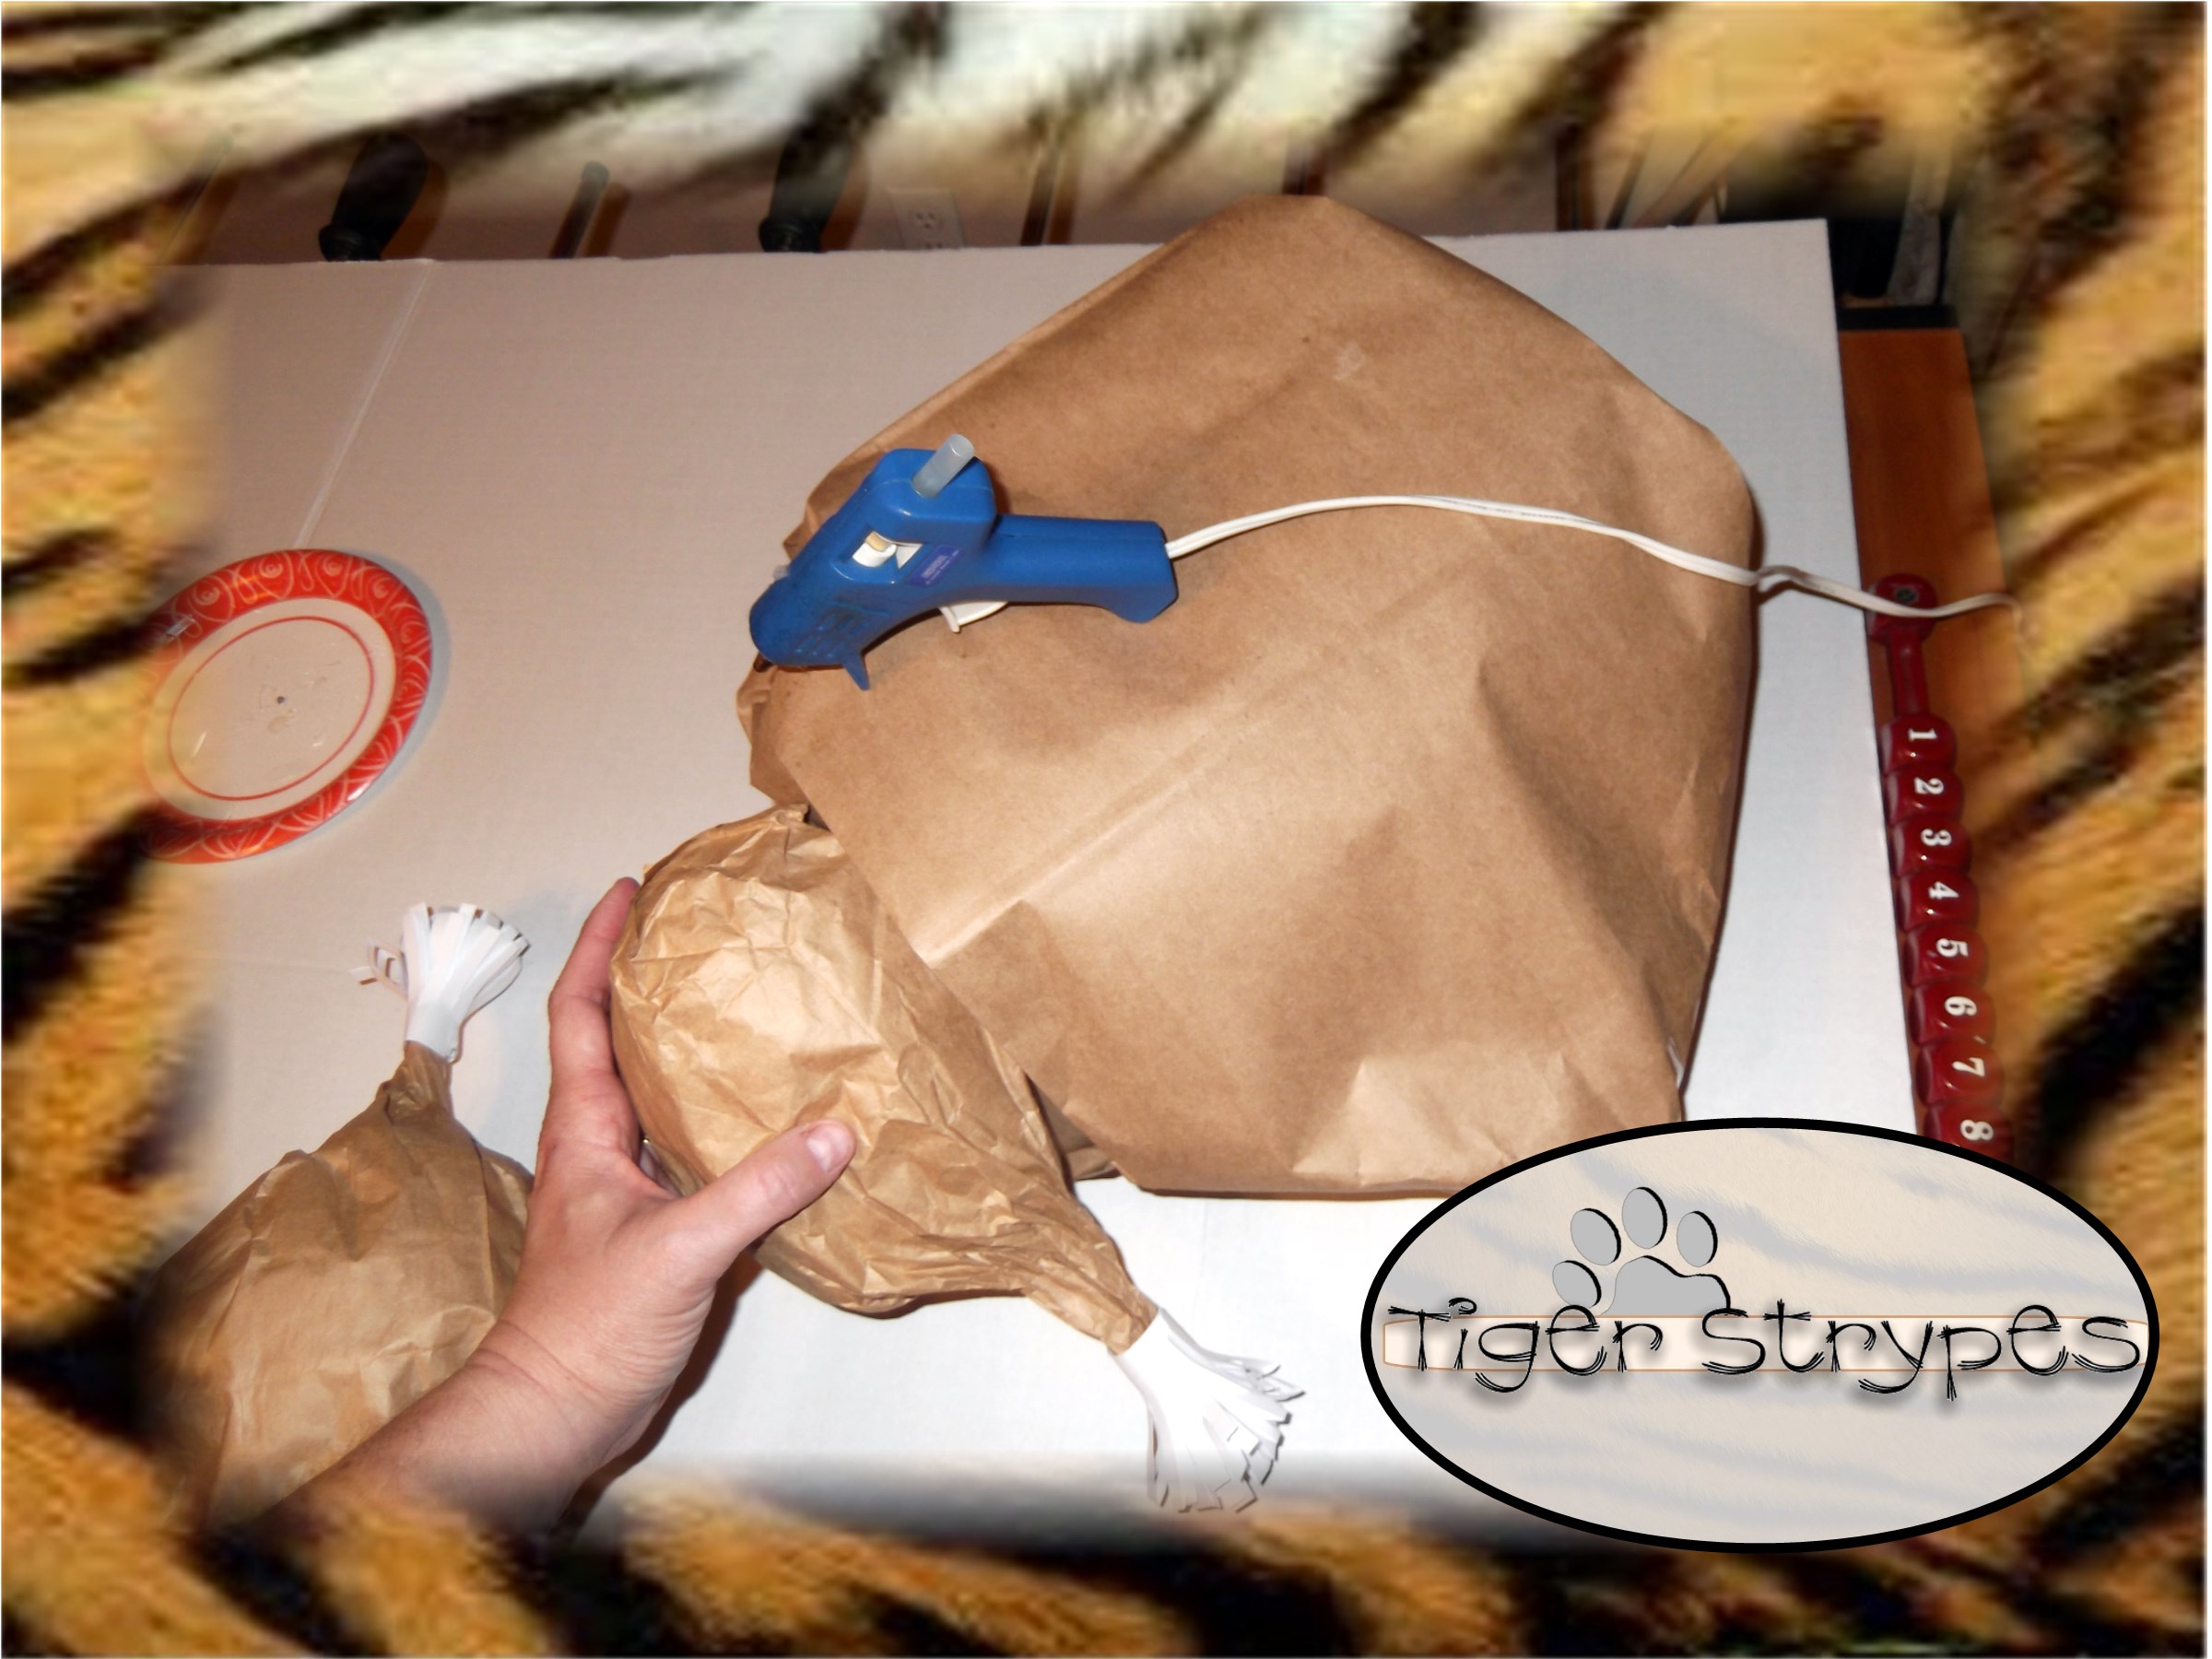
Next, get out your lunch bags and put your fist in them, wrinkling the edges to make the “legs”. Then, using tissue paper or packing peanuts, fill up the leg to about 3″ or 4″ to the top.
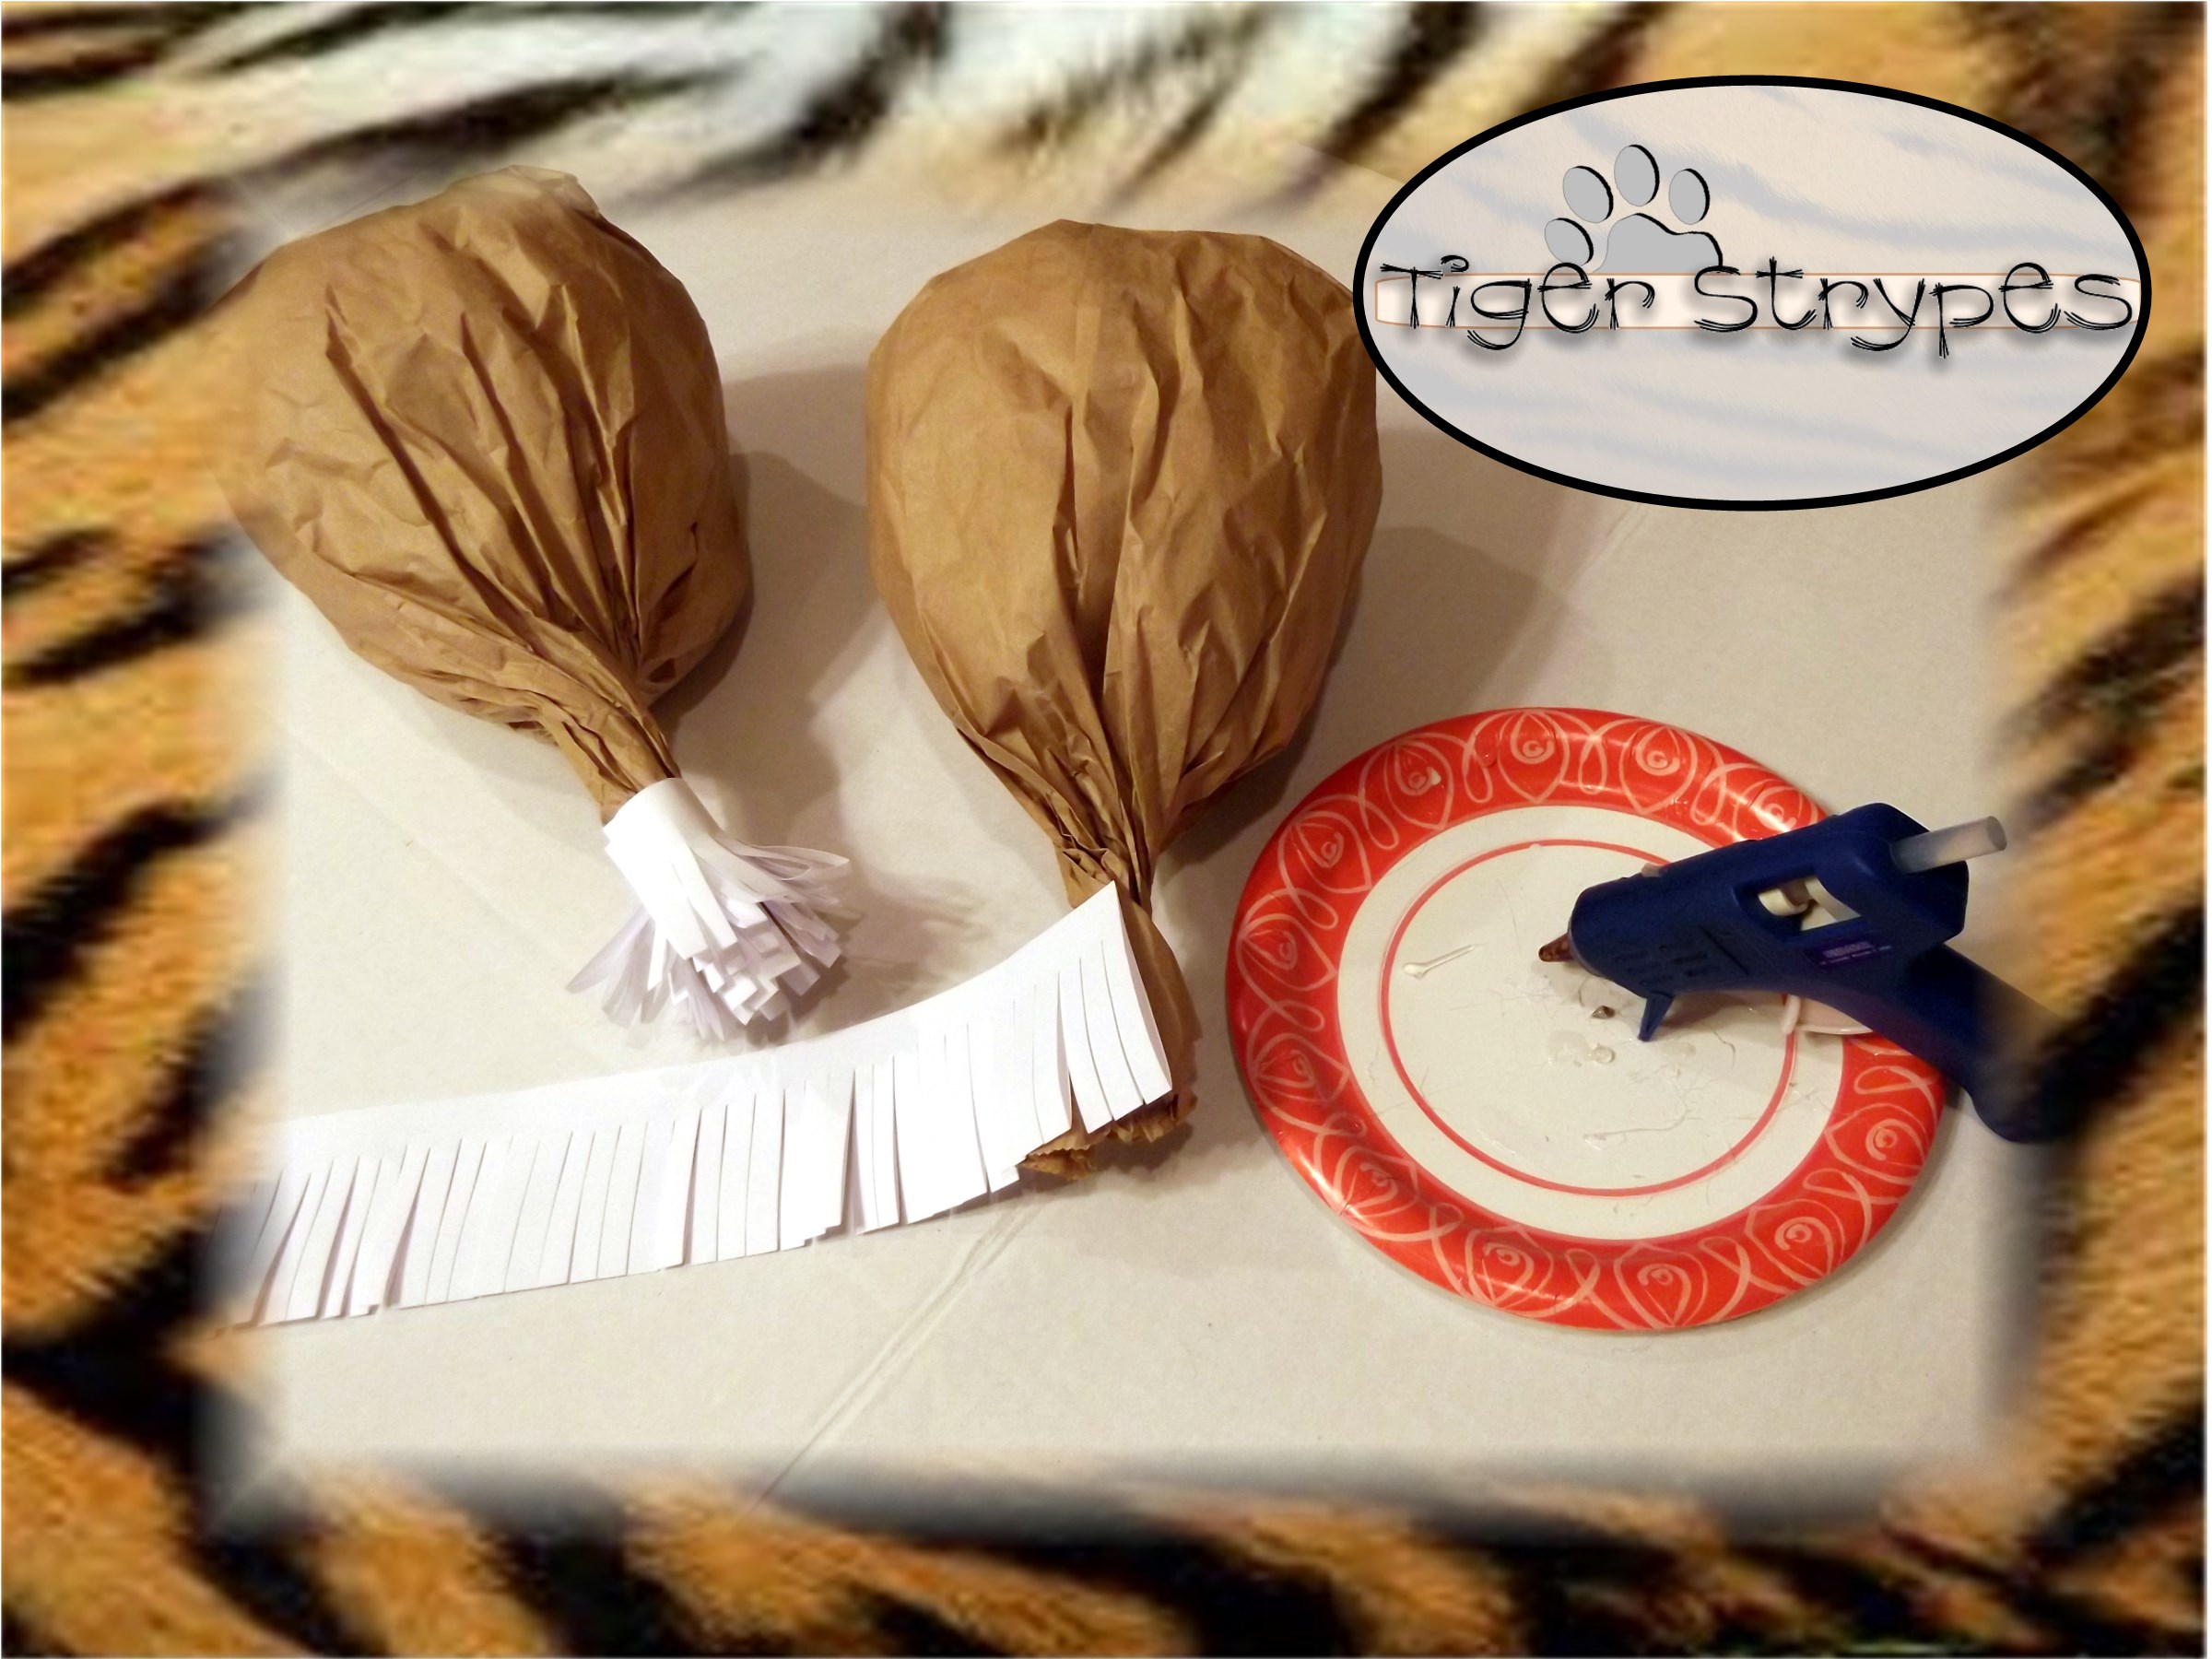
When you have them stuffed up how you want them, twist the ends a bit to secure the pieces inside. Then using the “Frill Booties” you made at the beginning, add a dot of hot glue to the end and then twist the piece around. Secure the last part with more glue.
Now that you have the “drumsticks” done, you can start on the main body. If you have a bag that has a lot of markings, just turn it inside out. This one only had the logo on the bottom, so I just went with it to make it easier. Push in the corners of the bag to start rounding it up in the body form.
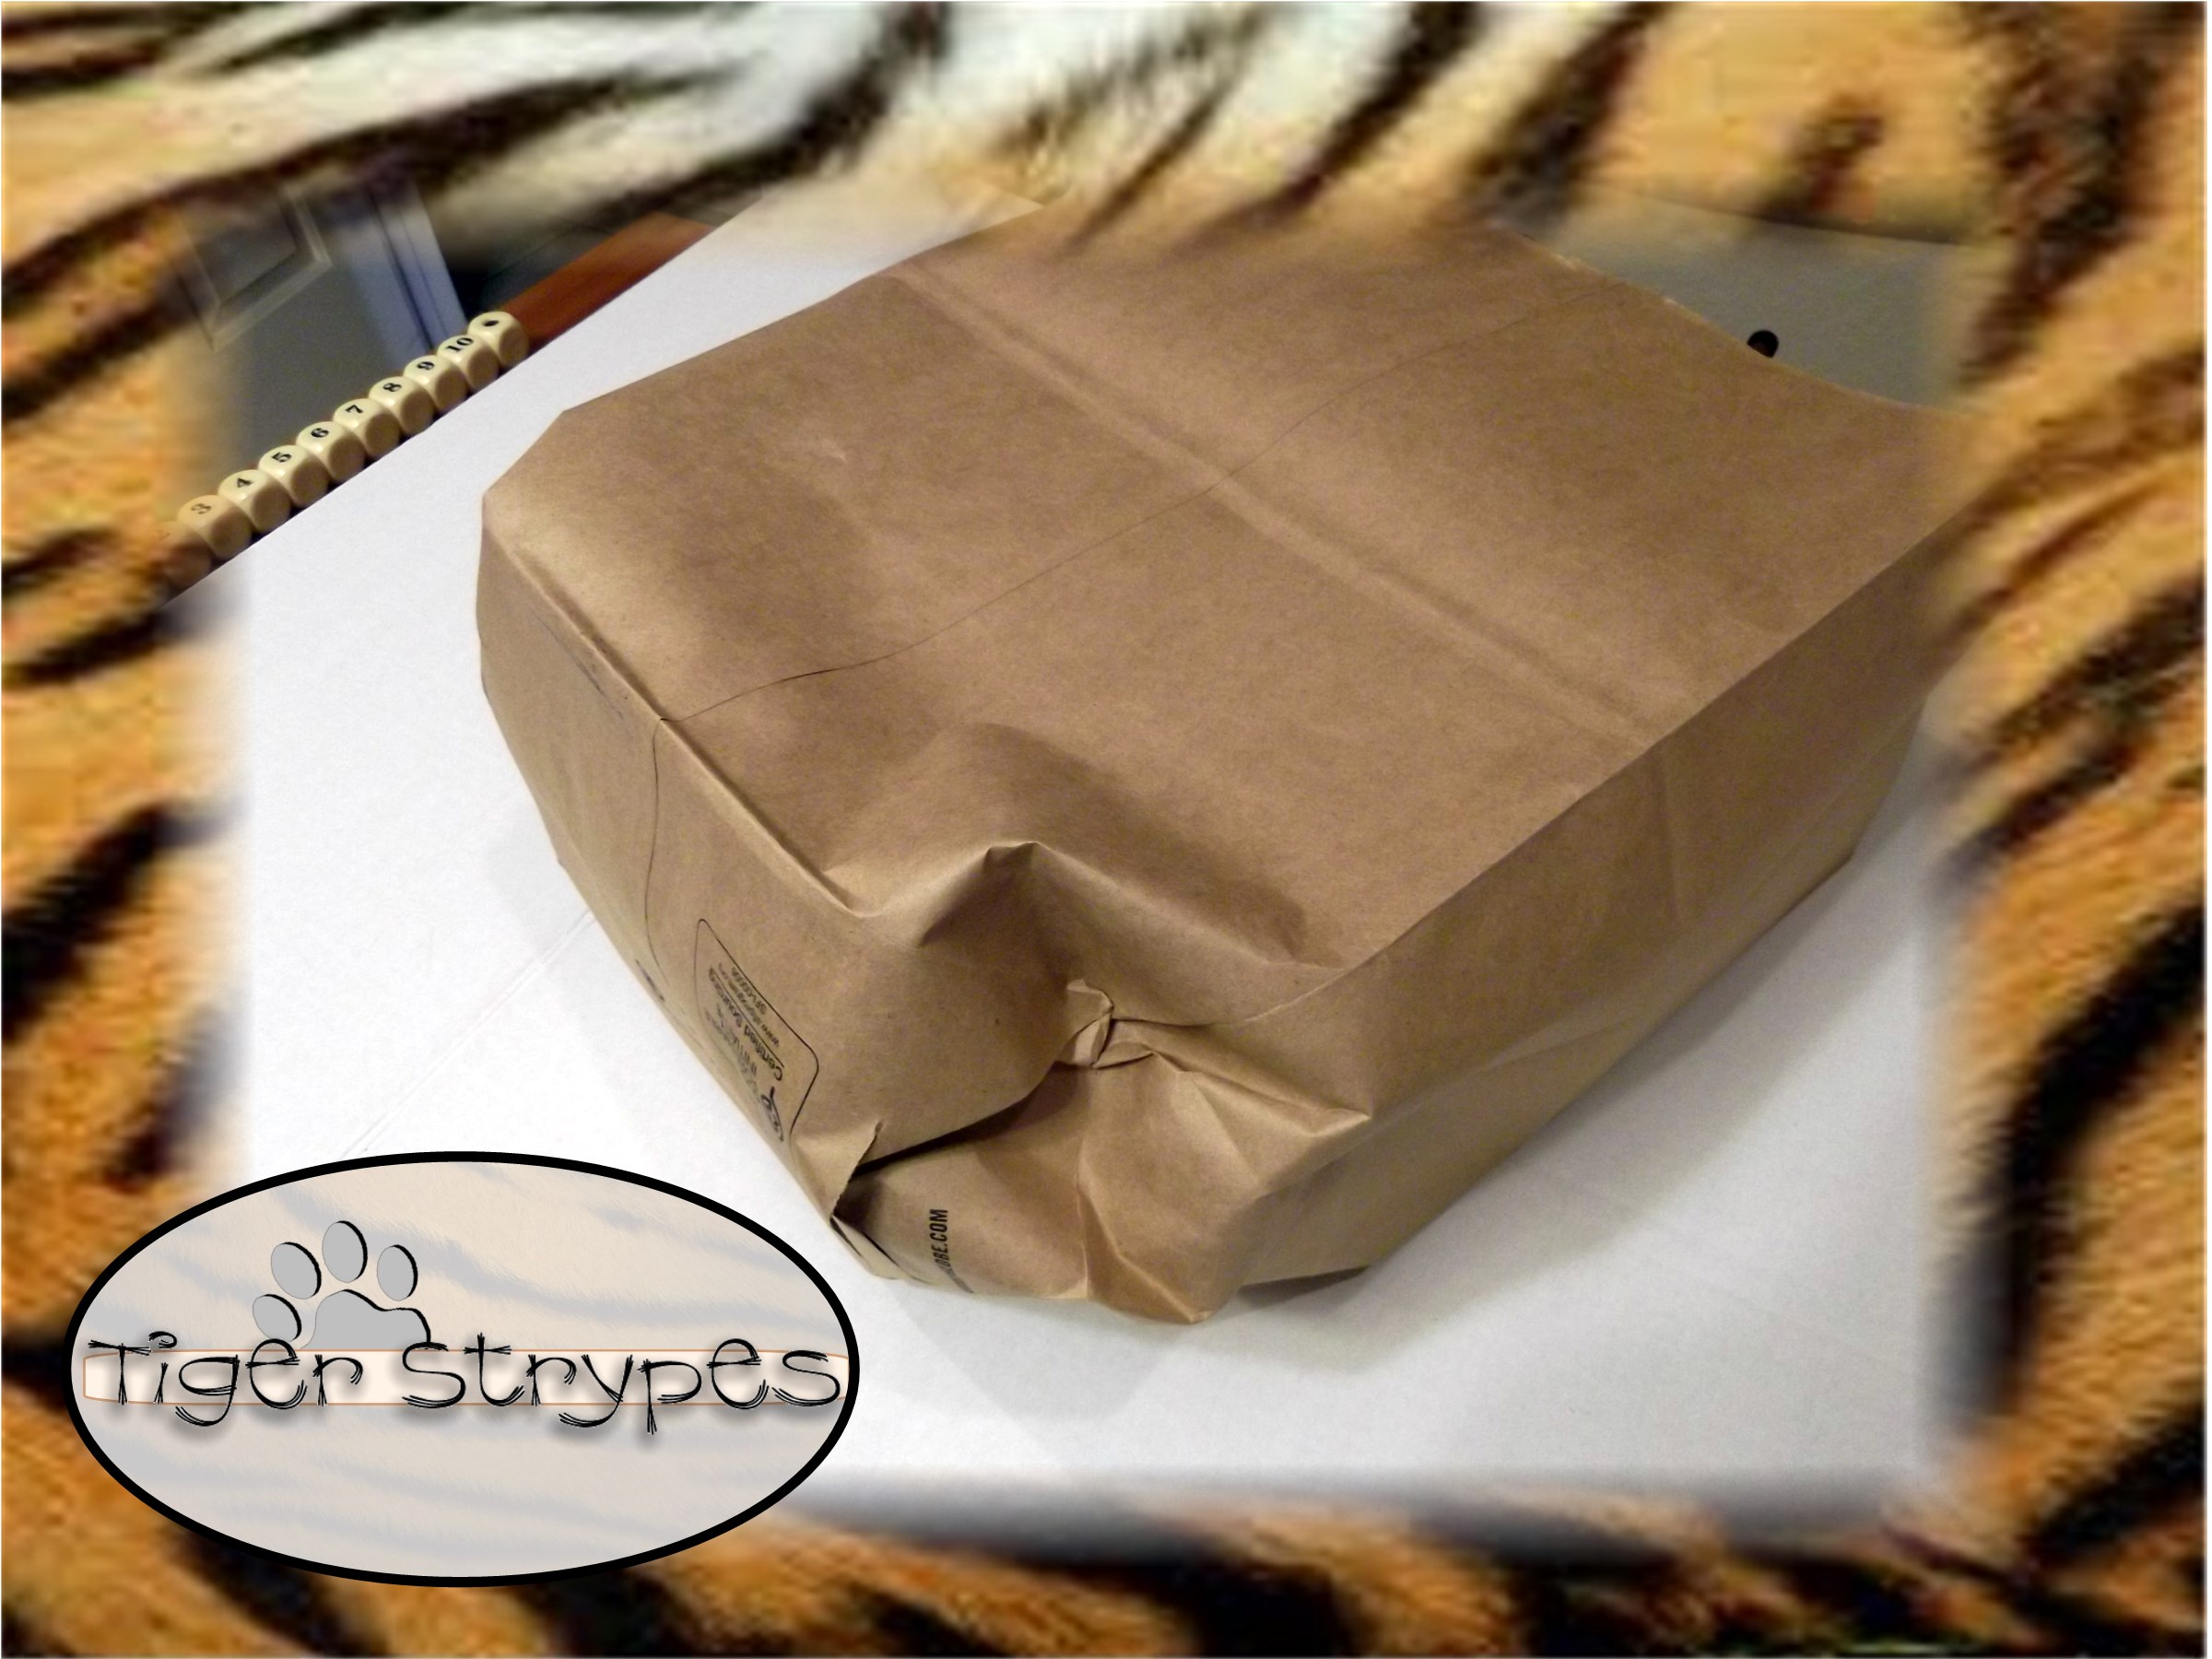
Once you have it kind of close to how you want it, start filling up the inside of the bag with popcorn. I used Black Pepper and Sea Salt popcorn, which started to leave marks in the bag pretty quickly, so you might want to just use plain, if you need it to last awhile.

Now, start sealing up the end of the bag with more rounded corners and then tape it closed.
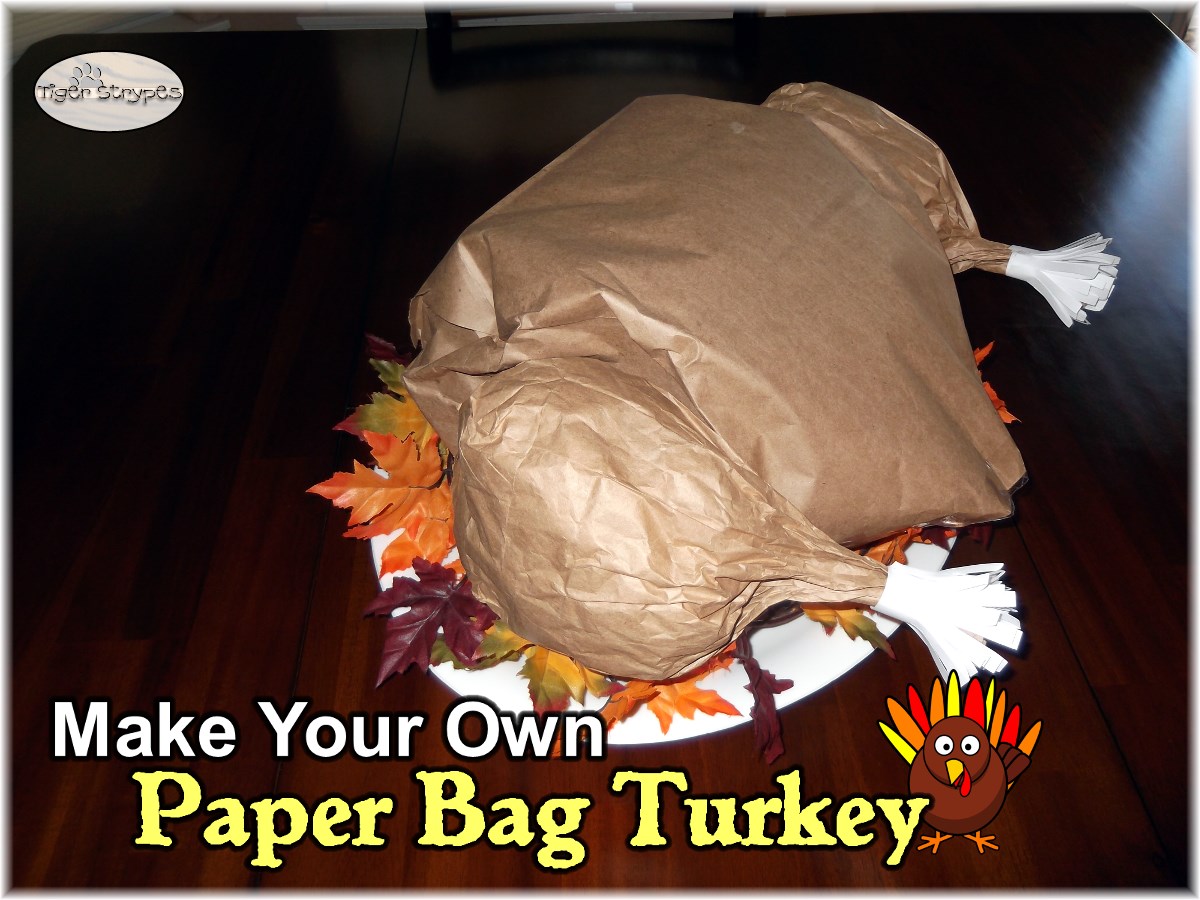
After you have it sealed up, use your glue gun to attach the legs to the edges. Be sure to hold them until the glue cools.
Now, just display it where you wish. I ended up giving mine to my son’s school and a bunch of the kids “carved” the turkey and enjoyed the popcorn!
Hope you like it! Please take a minute to leave me a comment and let me know what you would do different, or what you would add, etc. Be sure to tweet, pin, share, etc. – thanks!!
All pictures and text are my own and have not been copied in any way. I, Jamie Tomkins, own and operate Tiger Strypes Blog located at www.TigerStrypes.com. From time to time you’ll hear about my real life experiences or creations with products and/or services from companies and individuals. Let it be known that I have no affiliation with these said companies, and have not received compensation for reviewing or using their service/product. The information that I give regarding the product/service is based off my own personal experience, I do not guarantee that your experience will be the same.
PLEASE SHARE THIS POST USING THE OPTIONS BELOW…THANKS!!
*****************************************************************************************************

[…] craft, I wanted to share my Brown Bag Turkey with you. The original craft post is over at https://www.tigerstrypes.com/brown-bag-turkey/, so click the link, and head over there for full details. This is a great thing to make for parties […]
It is so cute and fun ,Jamie. I love this idea. #HomeMattersParty
Thank you Sahana, it was fun to make! 🙂
This does put a smile on your face! What a cute idea. Thanks for sharing and co-hosting at the #HomeMattersParty – we appreciate you! 🙂
~Lorelai
Life With Lorelai
I’m glad it made you smile, Lorelai – it was really fun to make! 🙂
Super cute! Wish I had some little ones around to do this with. Stopping by from #HomeMattersParty
It’s fun to even just decorate with, Denise. Even the not-so-little ones like it! 🙂
[…] Brown Bag Turkey for Thanksgiving by Jamie Johnson Tompkins […]
That is just too awesome! I am so doing this next year as a surprise for the kids! Pinned and Tweeted!
That is so clever. I need to make this with my boys.
That is seriously the cutest idea ever! My kids would love to do this & then dig into the popcorn inside!
Oh wow – that is such a good turkey. I had no idea how this craft was going to turn out until I saw the end result. VERY COOL!
This is sooooo adorable!
Oh yea. .. this will be happening in our house !! Great job ☆ THANKS for sharing!
Oh, this so is adorable! My kids and I will be doing this!! thanks so much for sharing your great and creative idea!
You’re welcome Heidi – it’s easy and fun to do!! 🙂