
 How To Create a Christmas Snowflake
Since it’s already December, and we’re praying for snow up here in the mountains, I figured for now, I would just make my own! The temperatures have been very low, but without the moisture, there’s not any of the white stuff. This was fun to make, and could be done in any color, glitter added to it, etc. Would be perfect for party decorations, or anything that you’d want to use it for this Christmas season.
I hope you like it!! Have a blessed day, and please be sure to comment on, and share this craft on your social media channels – thanks!
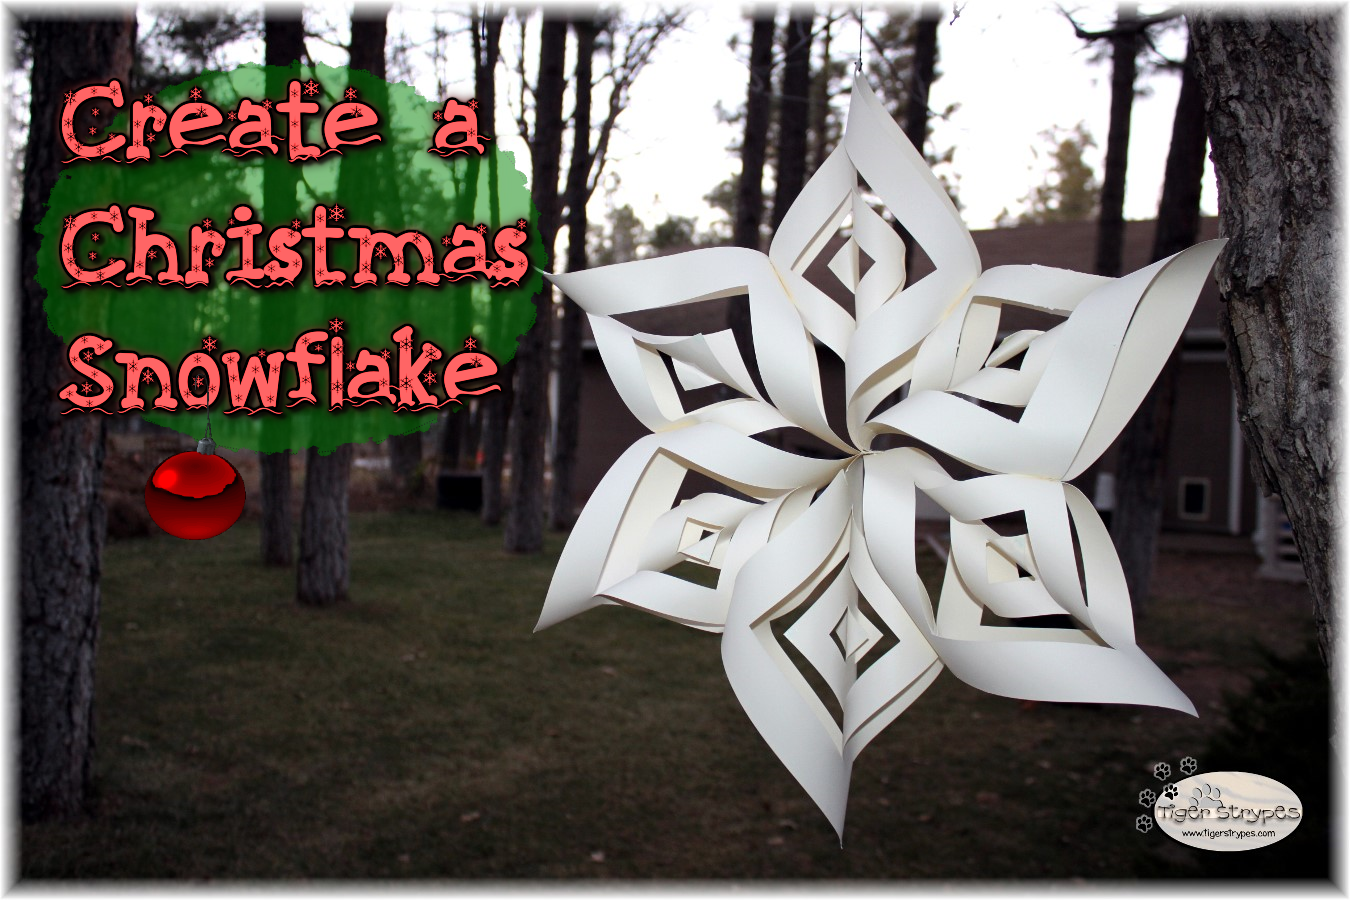
![]() Create a Christmas Snowflake
Create a Christmas Snowflake![]()
Materials/Tools Used:
- Craft Paper/Light Cardstock
- Silhouette Machine or Scissors
- Paper Cutter
- Stapler
- Hole Punch
- Thread
- & Time!
Instructions:
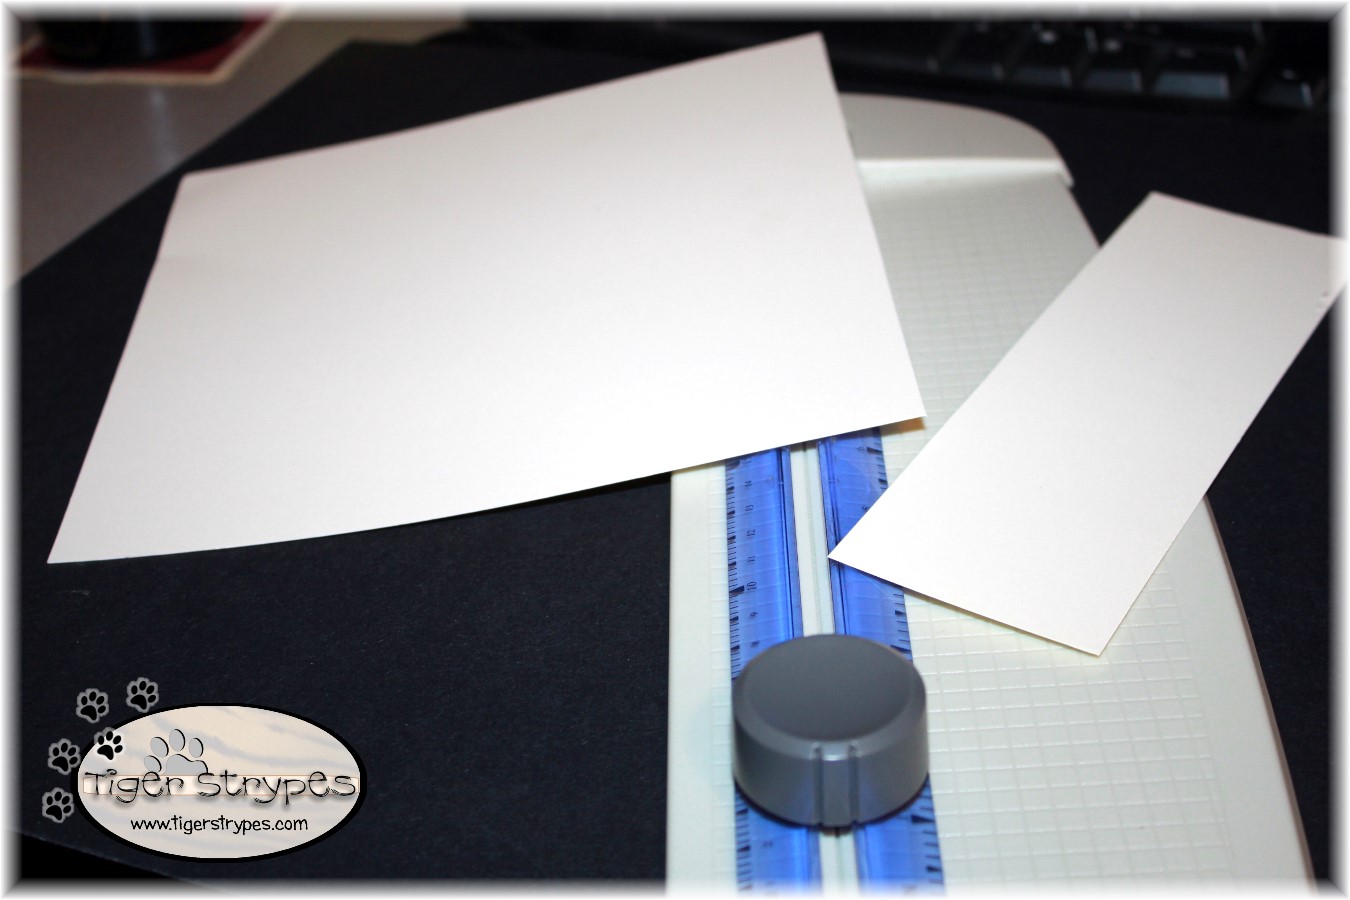
I started with an 8.5″x11″ piece of light cardstock to create the snowflake. To get the right dimensions, I measured 8.5″ on the long side….
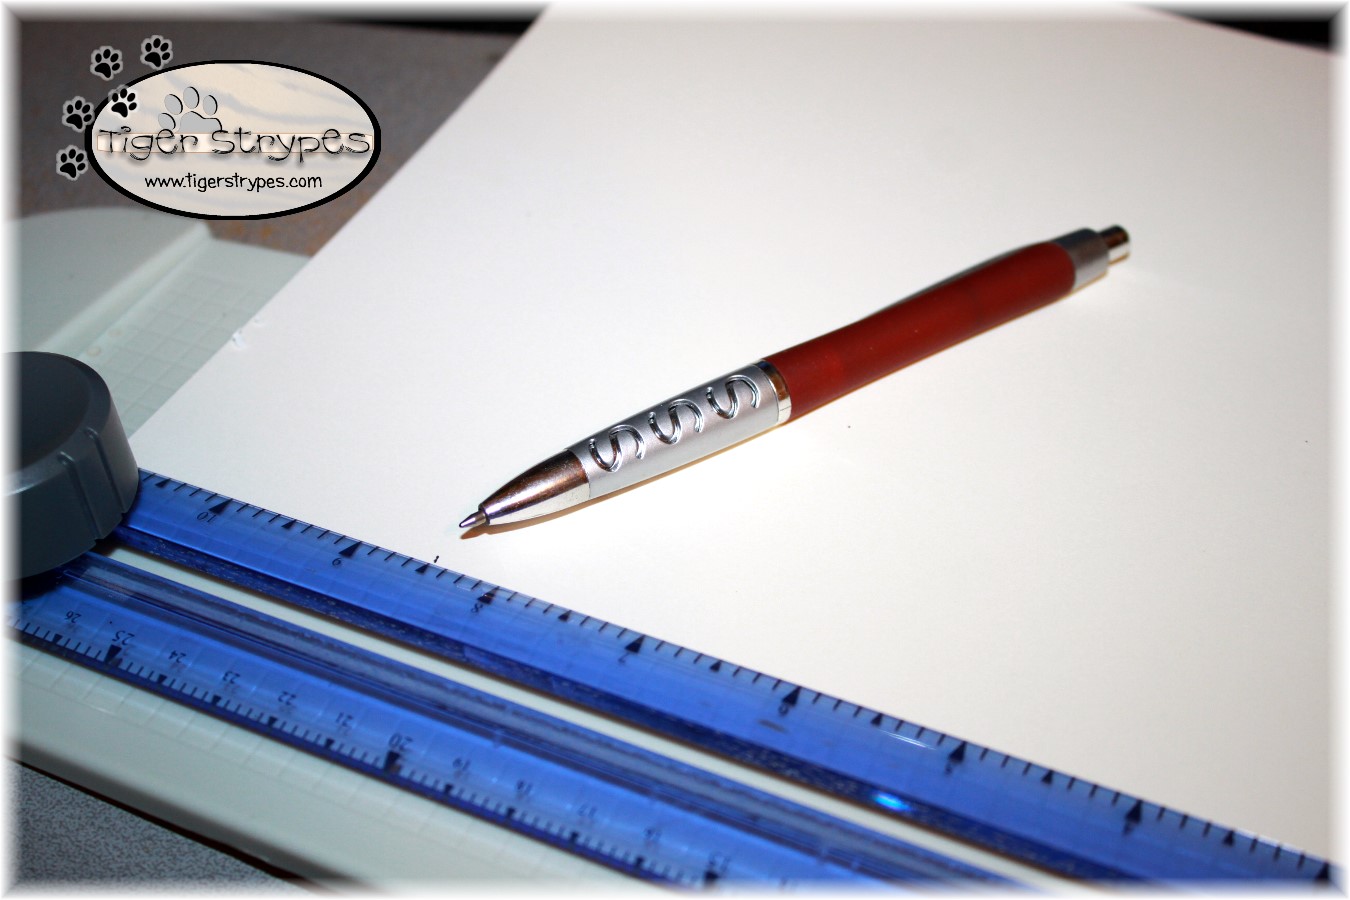
and trimmed the excess off of the edge. That way, the piece will be uniform and turn out correctly.
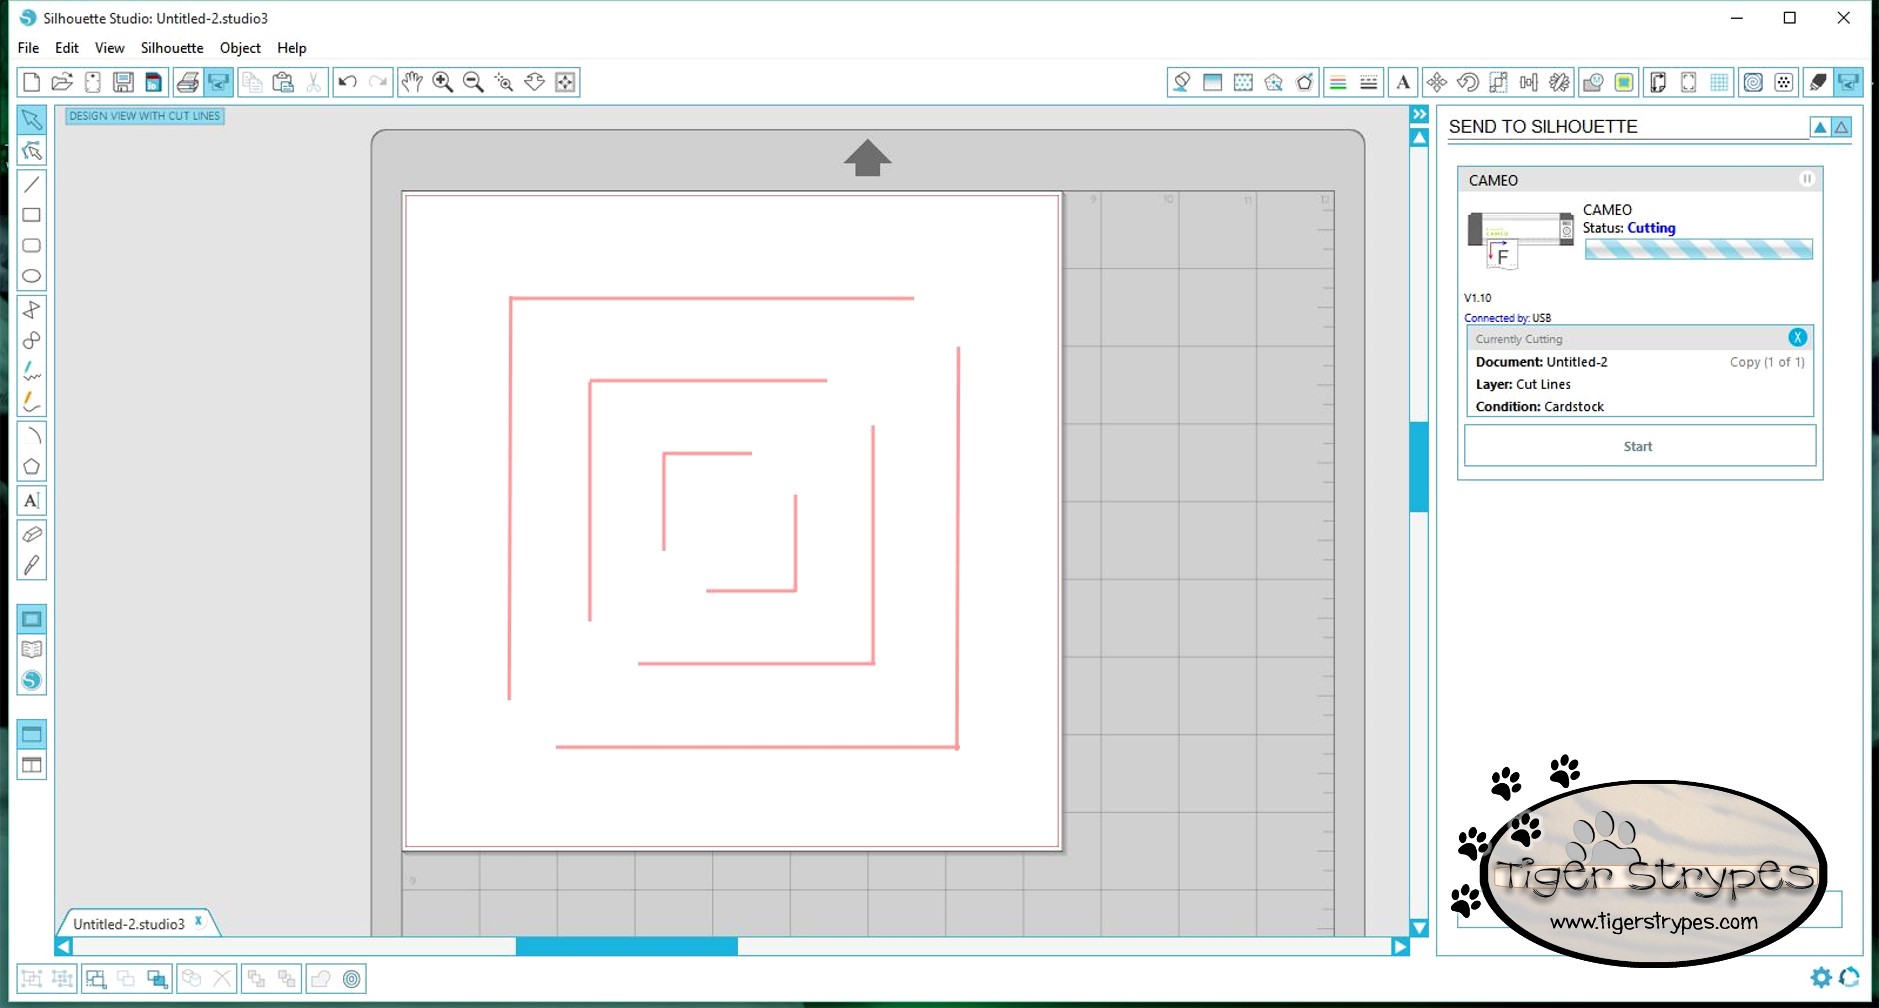
I then created a template on my Silhouette software. I needed to cut out six of these, and didn’t want to do it all by hand. Here is the template if you want to just cut it by hand.
When all of the pieces were finished, I started folding them together. You’ll start with the small piece in the middle and either glue dot, hot glue or tape the corners together. Then flip the entire piece over and do this with the next inner piece. Flipping it each time, until you’re done.
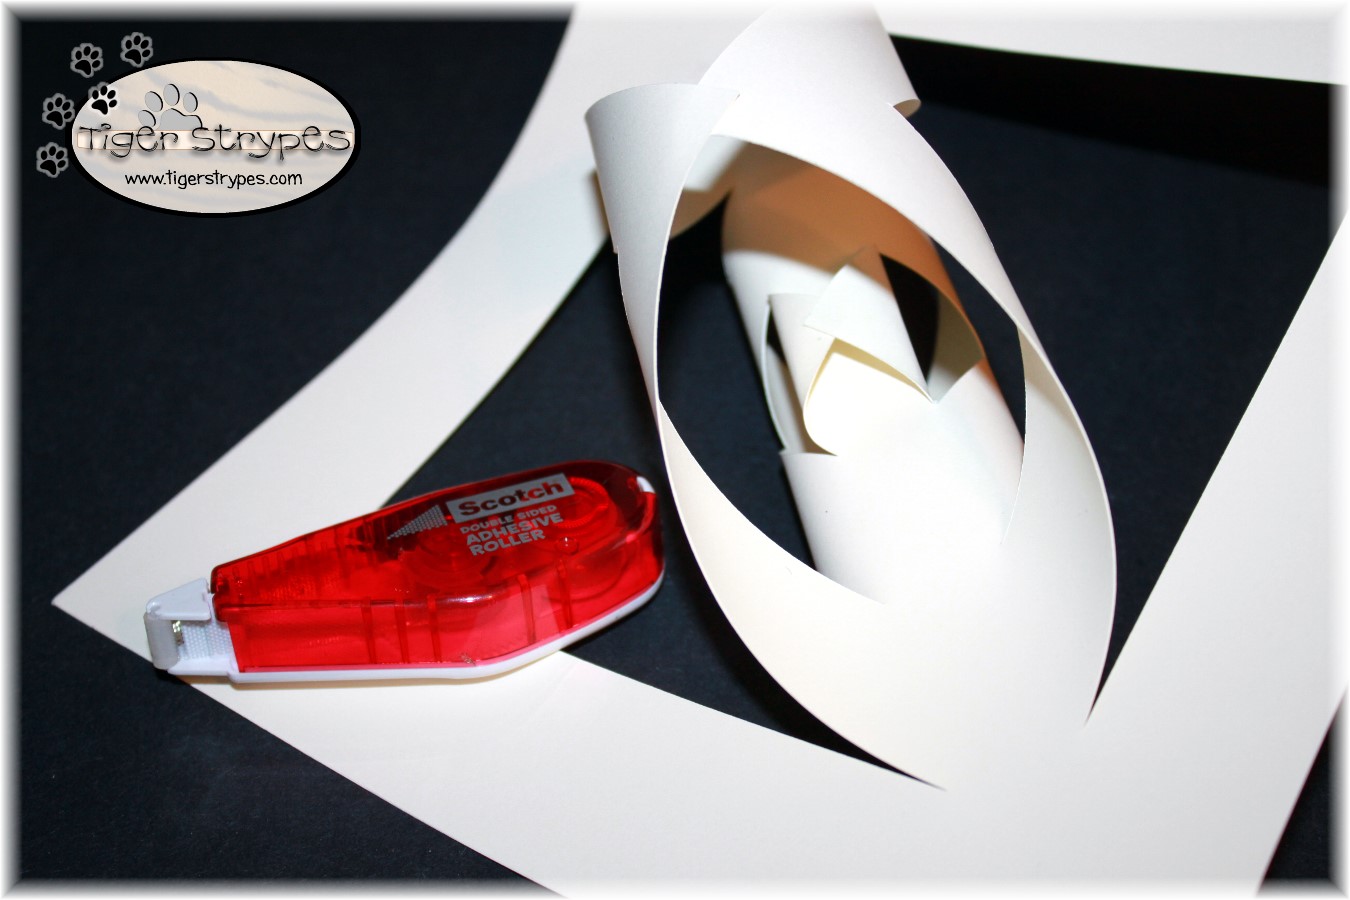
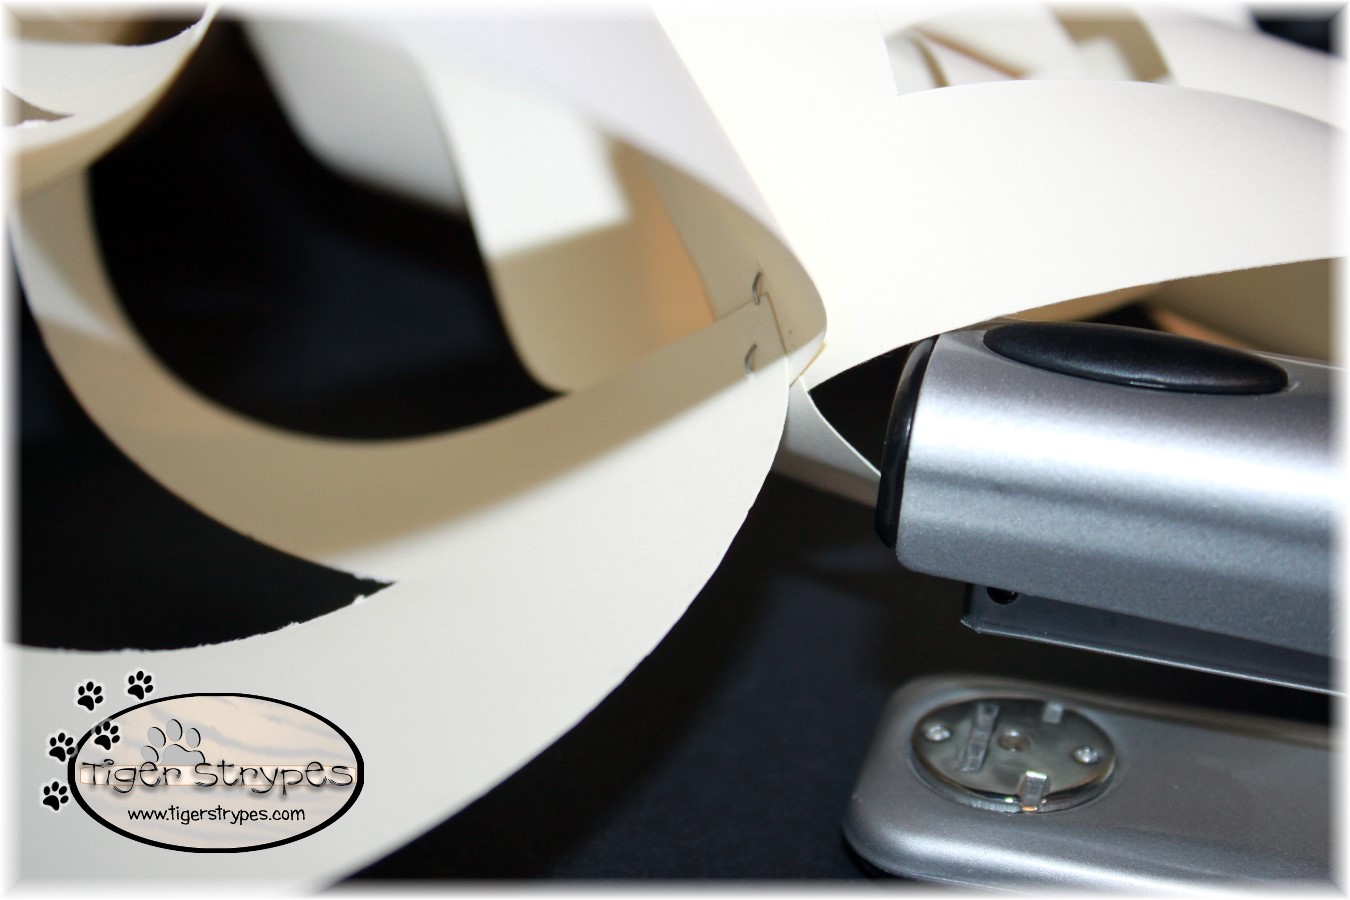
Next, after all of the single parts are finished, you can tape or staple each piece together. This is done on the corners of the largest piece, and you need to make sure that all of them are facing in the same direction for a uniform look.
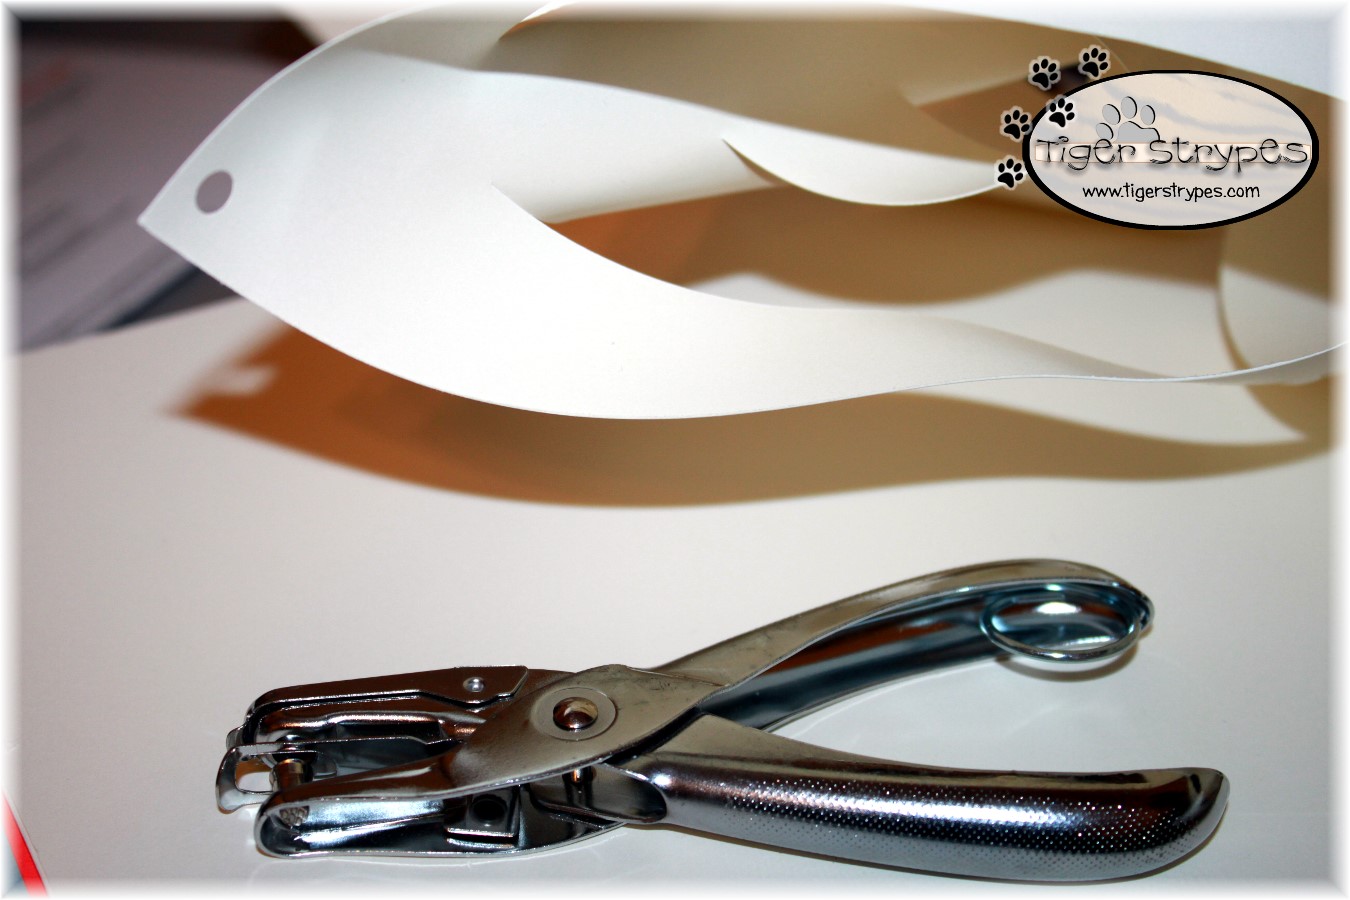
I then used my hole punch to punch a hole in the top.
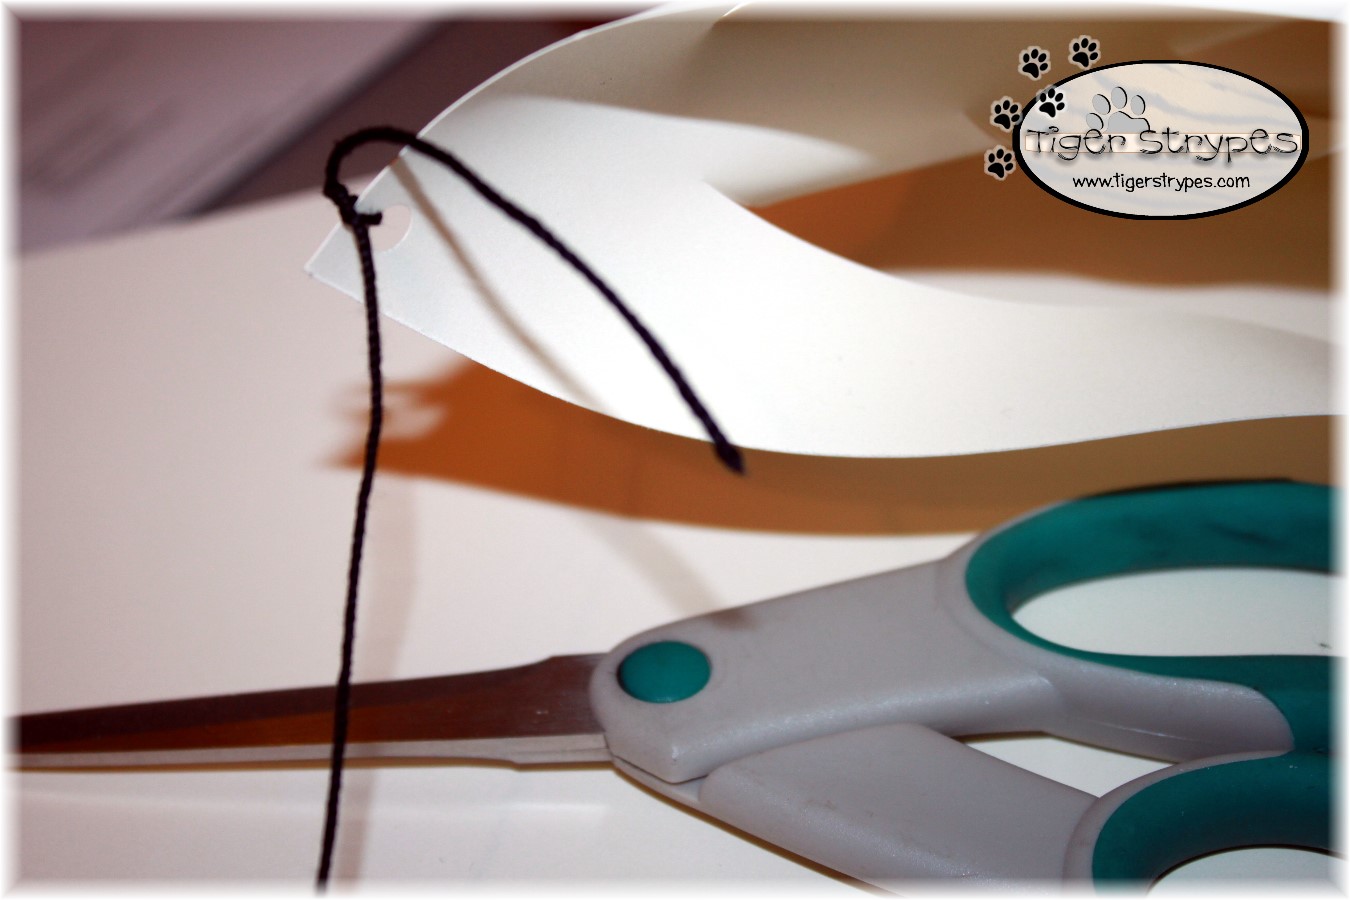
Using some craft thread, I knotted a piece through the hole. You just need to trim it up, once the knot is finished to clean it up.
Now you can hang it wherever you like. I ended up putting mine on the porch, so I could pretend that we already had some snow. 🙂
I hope you like it! Please take a minute to leave me a comment, and let me know what you would do different, or what you would add, etc. Be sure to tweet, pin, share, etc. – thank you!!
“Like snow in summer or rain in harvest, honor is not fitting for a fool.” –Proverbs 26:1
![]()
HERE ARE SOME OF MY PREVIOUS PROJECTS:
 |
 |
 |
 |
 |
 |
PLEASE SHARE THIS POST USING THE OPTIONS BELOW…THANKS!!
*****************************************************************************************************
 For more fun craft ideas, visit a few of my favorite bloggers:
- Easy Washi tape gift card holder by Confessions of an Overworked Mom
- DIY holiday lightbulb ornaments by B is 4
- Pipe cleaner dolls by Girly Creations
- Mini Winter Scene by Immutable Ramblings
[…] Create a Christmas Snowflake – TigerStrypes Blog […]
This sounds so fun to make, Jamie !!
Thanks Sahana – they were pretty easy to make!
Ah I’ve seen those and wondered how they were made – not too hard! We are still waiting on snow here too. The ground was completely bare until yesterday when we did get a couple of inches but I’m hoping that the predictions for another storm or two before Christmas come true so we have plenty by then. Christmas break will be so much easier if the kids can spend half their time out sledding!
Here’s to another fun weekend with the #HomeMattersParty
They were pretty easy Alayna – and finally we’ve gotten some real stuff on the ground. Have about 14″ – YIPPEE!! 🙂
[…] Jamie shows us how to Create A Christmas Snowflake […]
I haven’t made these in years! I am glad you posted the directions because I am not sure I would have remembered how to do it. #HomeMattersParty
I always see them, but never knew how they were made. Finally figured it out and it was really easy!
[…] Jamie shows us how to Create A Christmas Snowflake […]
[…] Jamie shows us how to Create A Christmas Snowflake […]
[…] Jamie shows us how to Create A Christmas Snowflake […]
[…] Jamie shows us how to Create A Christmas Snowflake […]
[…] Jamie shows us how to Create A Christmas Snowflake […]
[…] Jamie shows us how to Create A Christmas Snowflake […]
Oh my, this is so beautiful, Jamie! I love that large snowflake, what a nice decoration that would make in and outdoors!
Thank you Bernadyn – it was fun to make! 🙂
Wow that’s really pretty. I love how delicate it looks at the end.
Thank you Ellen – it was fun to make! 🙂
Jamie, we’re simpatico, I KID YOU NOT, my daughter came home yesterday afternoon and made one of these for me to hang on our window. but now, I wanna hang it in my tree too!!!
Well that just proves that your daughter is awesome!!! Glad you like them! 🙂